Metal Roofing Alliance Member
TVA Preferred Partners Network
10,000+ Metal Roof Jobs
Nashville, TN
Licensed & Insured
BBB A+

Open 8am–8pm
(615) 649-5002Schedule Your
Appointment
Appointment
From The Metal Roofers’ Job Files · Residential reroof · Slate texture in stamped steel
This Nashville roof gets its slate-like appearance from individual stamped steel shingles, not quarried slate. The signed scope identified the Modern Metal Slate Profile Shingle in 24-gauge steel. The installation footage shows a detail a finished view cannot: cutting, shaping and securing individual pieces a course at a time.
Watch the project reelSee the finished roof ↓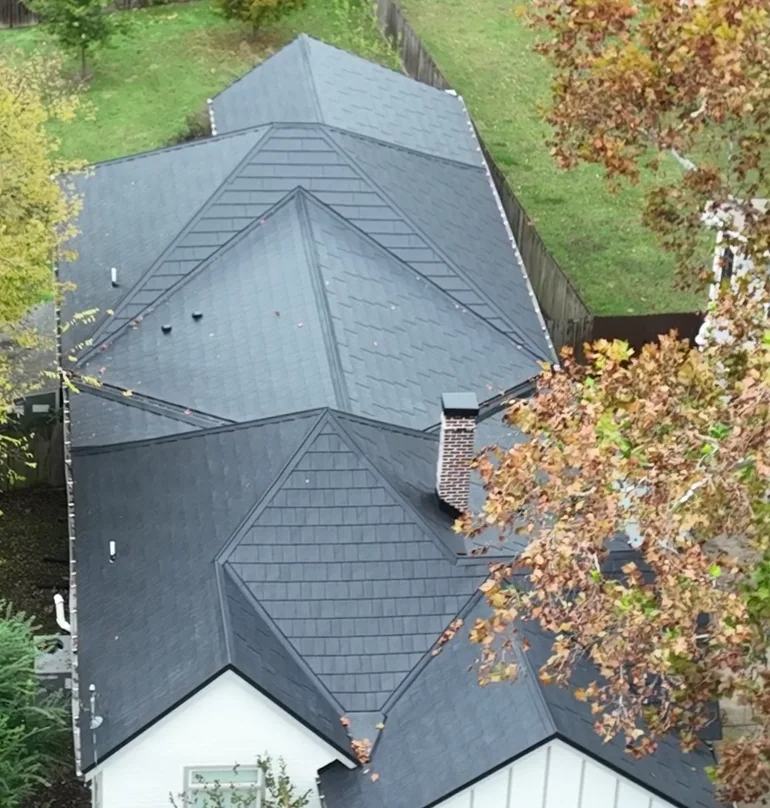
Nashville, TN
Residential roof
Slate profile
Stamped steel, not slate stone
24-gauge
Named in the signed scope
Individual courses
Fitted at hips and ridges
01 · The Finished Roof
The roof has intersecting planes, hips and ridges, so the view changes as you walk around the building. Gray shingle courses create smaller patches of shadow than long standing-seam panels. The project is a concrete example of how to keep a shingle pattern without assuming the product is asphalt or natural stone.
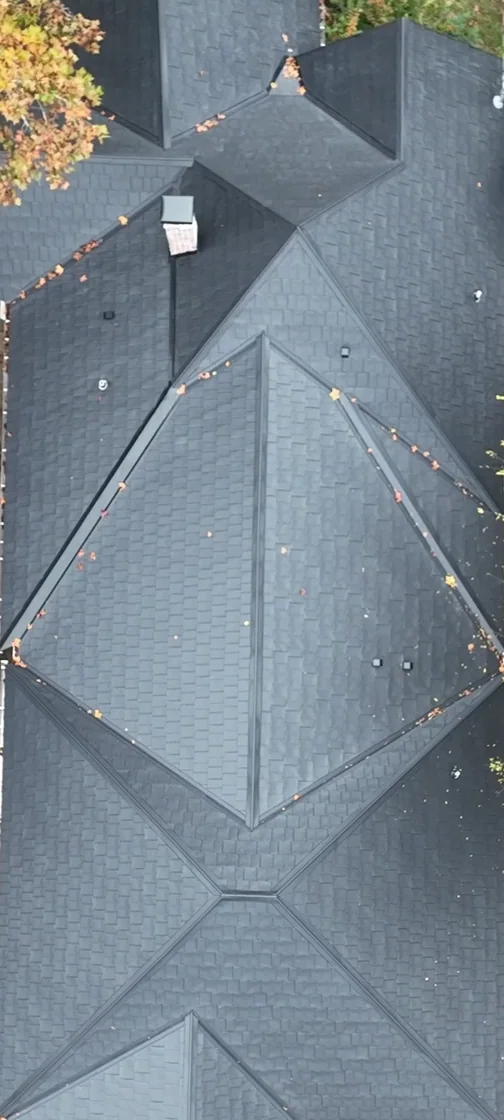
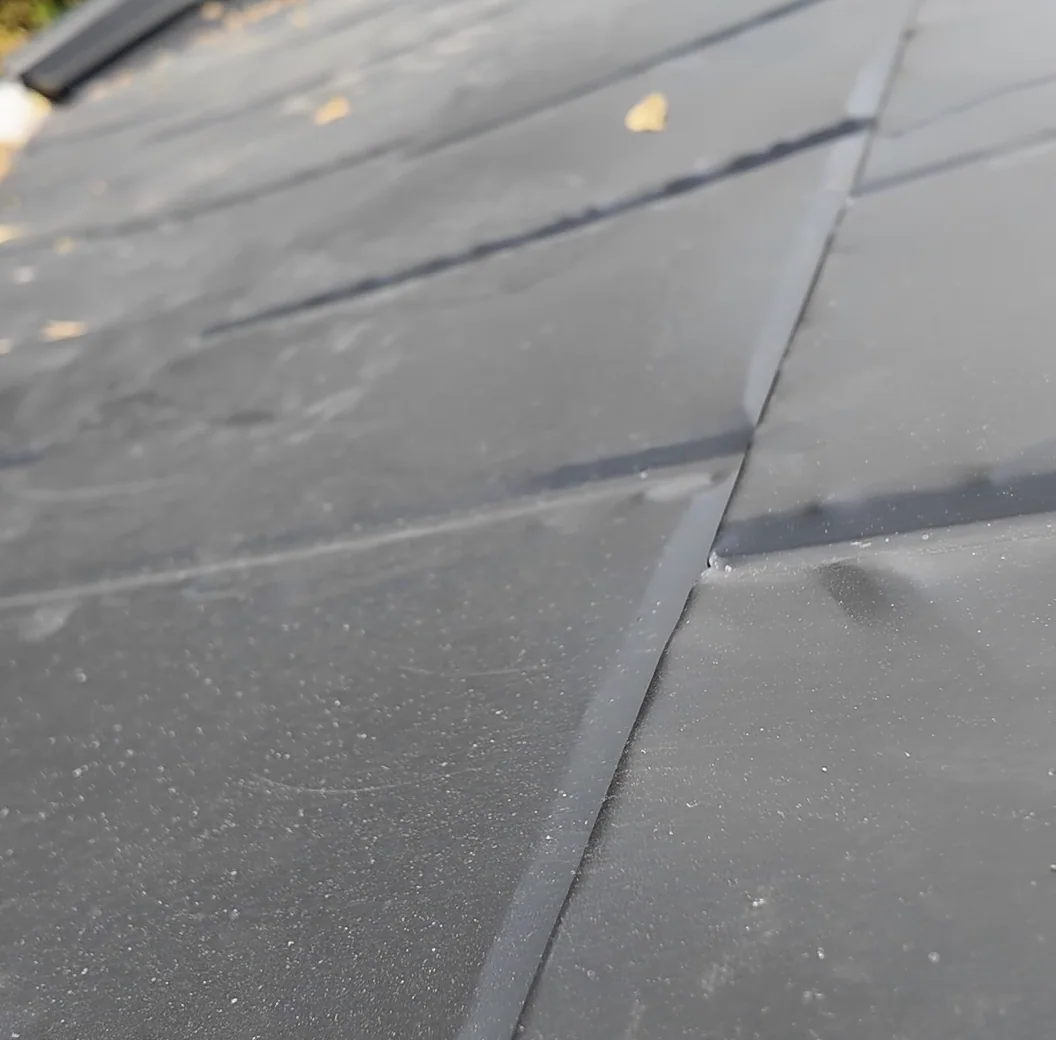
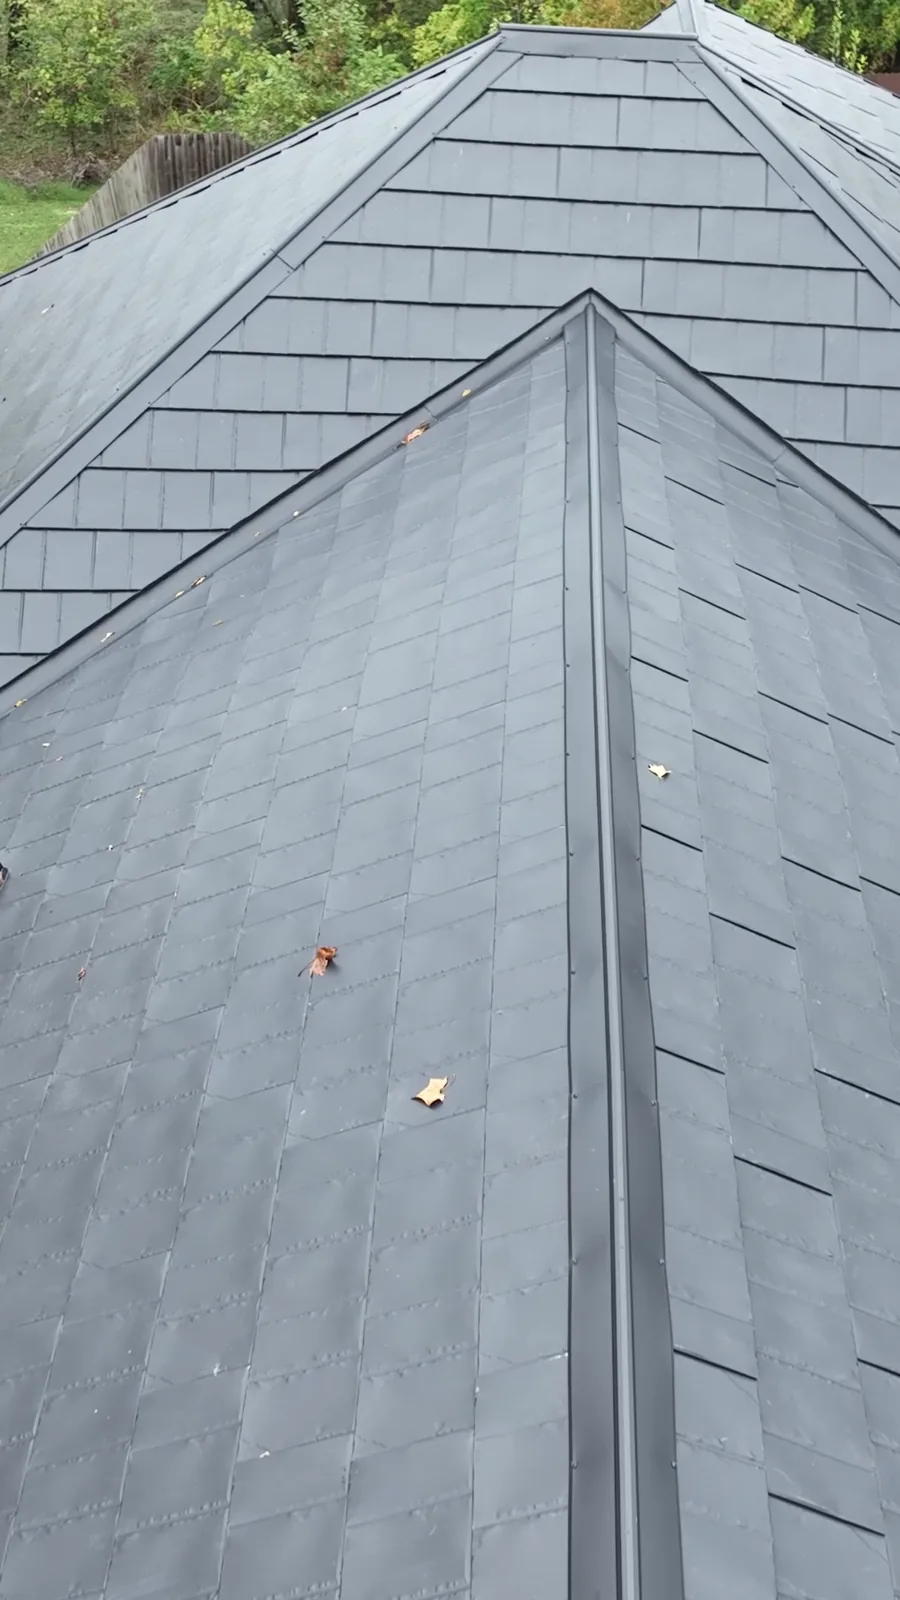
Study the hips and ridges instead of only looking at the pattern in the middle. Short shingle courses have to turn, stop or be cut where the planes meet. The work close-ups show how the crew made those pieces fit.
The Short Answer
The Nashville agreement identifies individual 24-gauge stamped-steel shingles. Slate is the profile and texture, not the material. The footage shows old asphalt coming off, underlayment going down, and individual pieces being cut and shaped before ridge and hip details are finished.
The signed scope supplies the shingle name and gauge. The reel shows tear-off, individual pieces being handled and the finished appearance. The exact underlayment product and installed deck-repair quantity are not claimed. How we document our work.
02 · The Work, In Order
Step 01
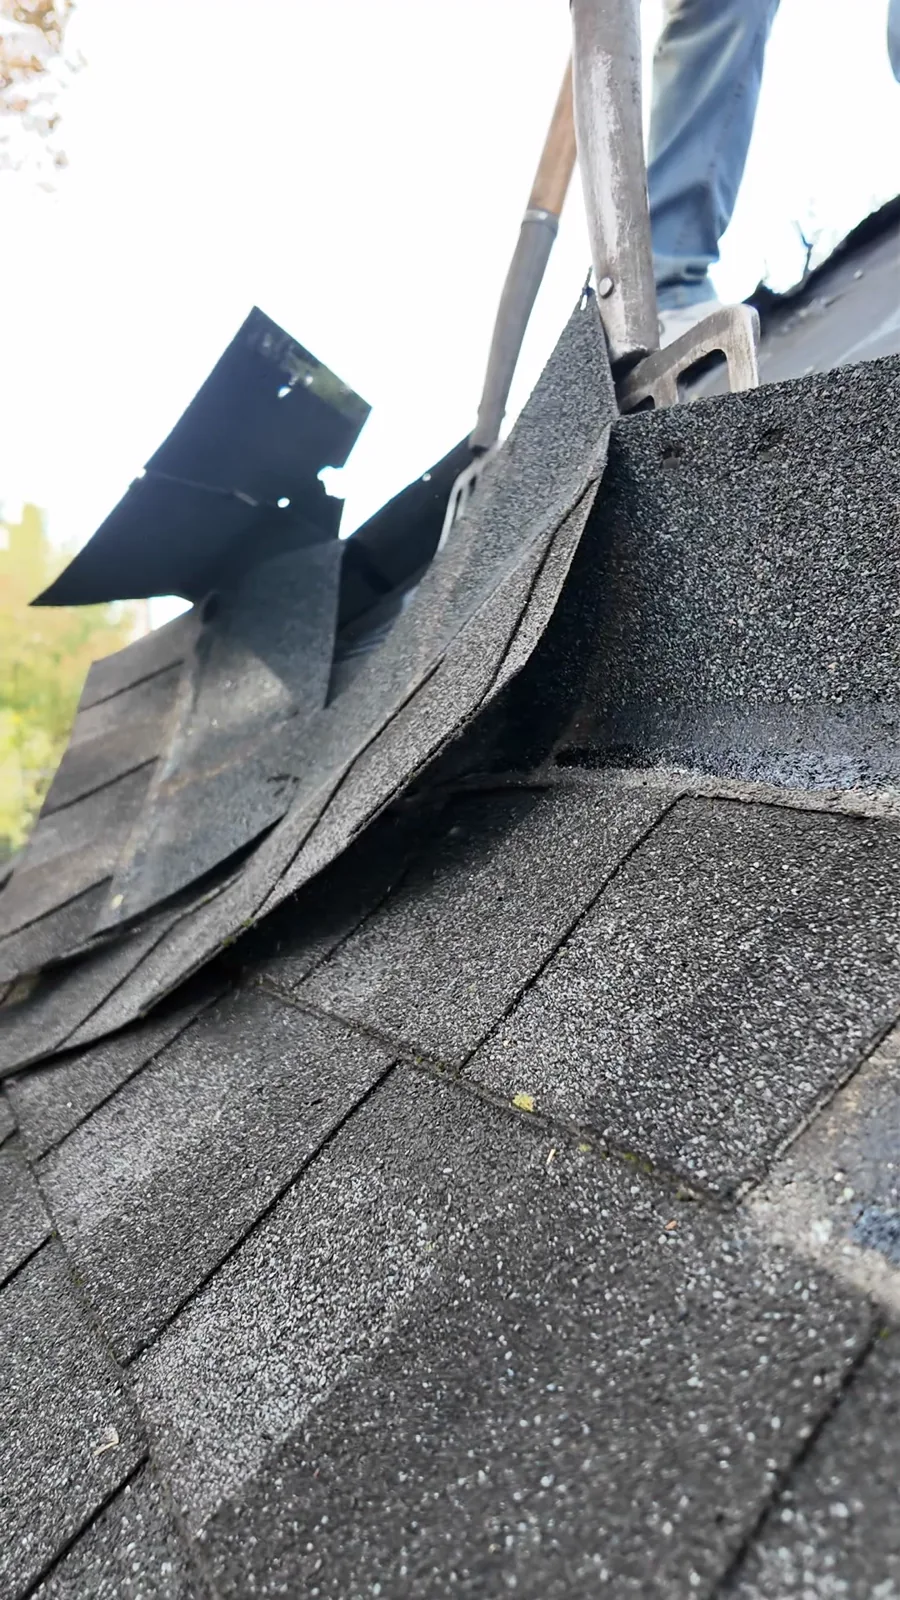
The tear-off footage shows a tool lifting old asphalt shingles. Removing old roofing exposes the assembly below, where the crew can see what it is working over. The image does not establish the condition of every sheet of decking or a replacement quantity.
Step 02
A worker cleans and works across the exposed roof surface after tear-off. The frame shows a stage between removal and new underlayment, not a pristine deck or proof that no deck repair was needed.
Step 03
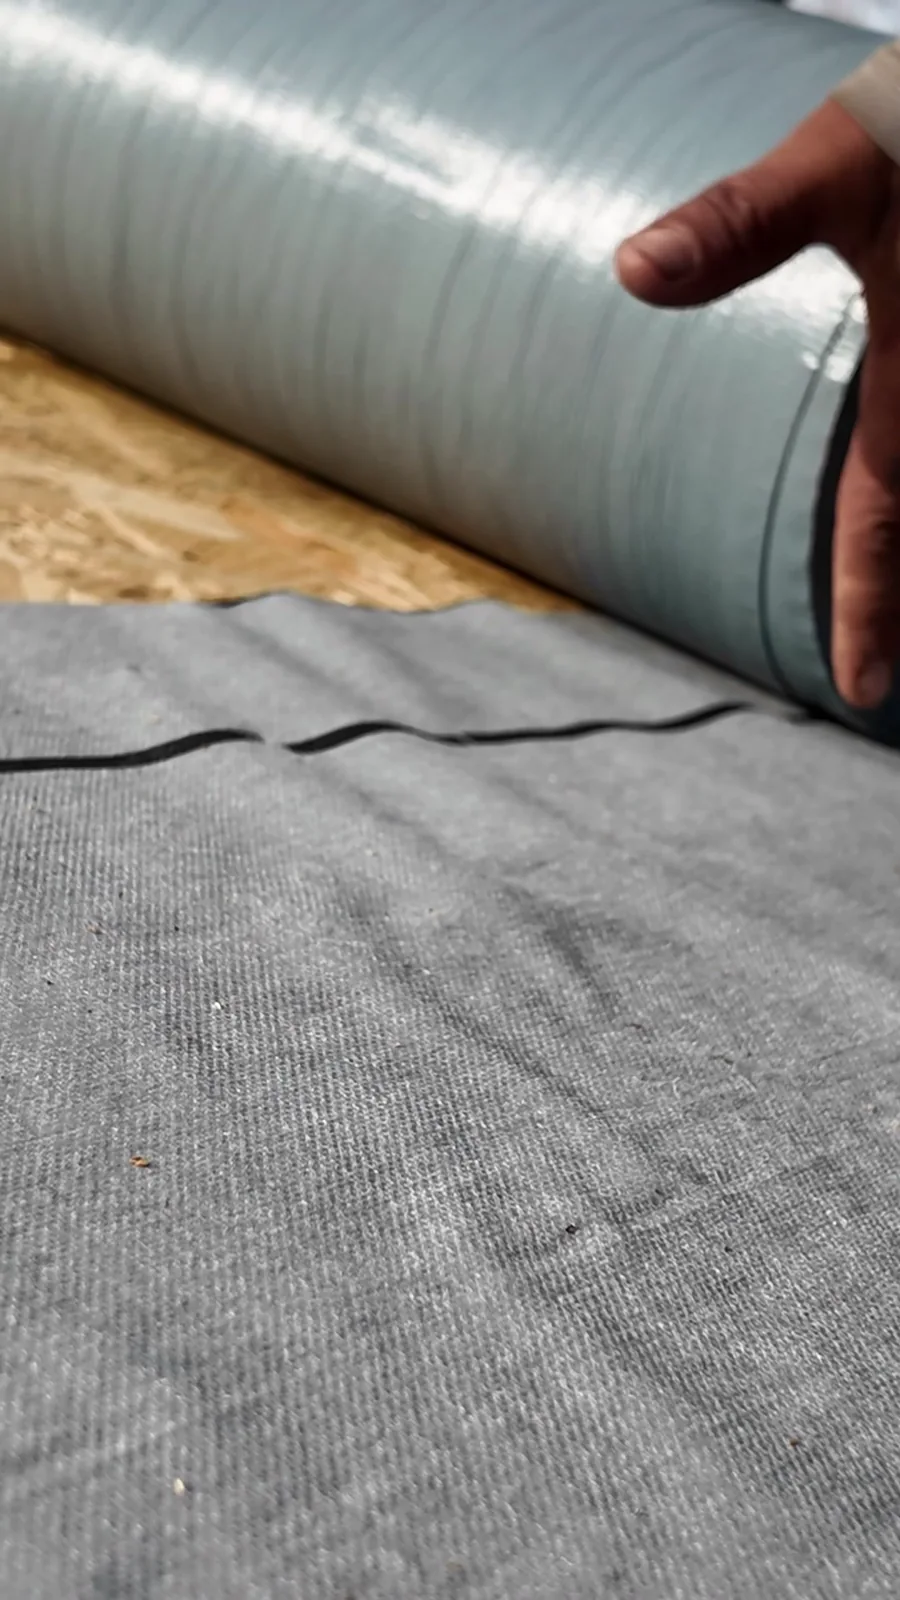
The next stage shows a roll of underlayment guided across the roof. Underlayment and the visible roof covering are separate components. A photo can show which layer went down first, but not determine the product rating just by its color.
Step 04
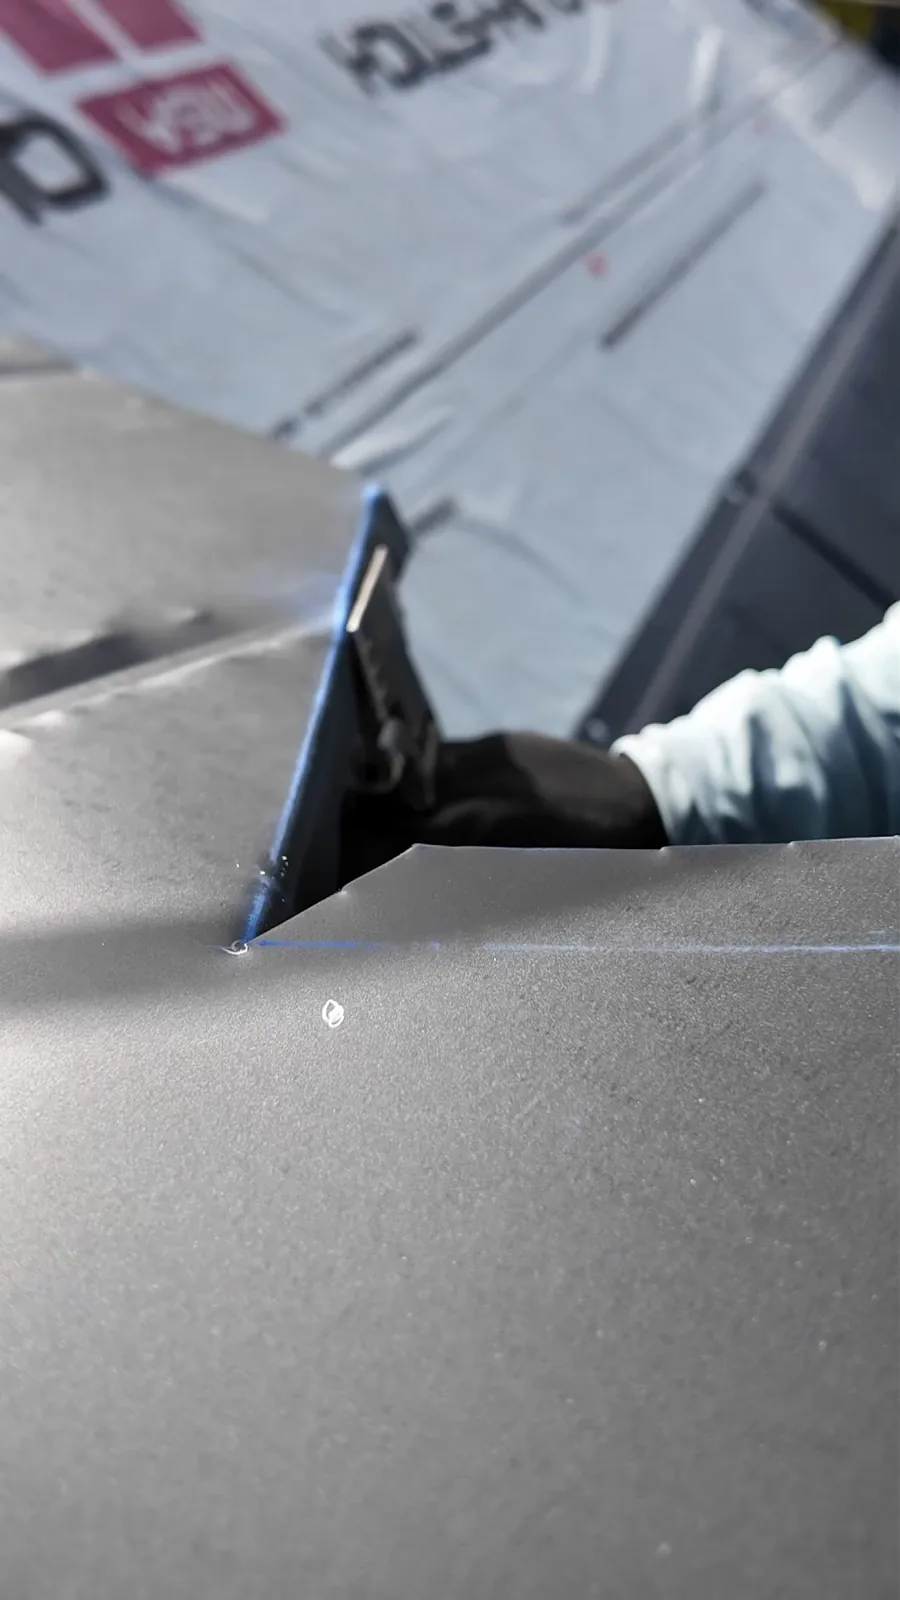
The source clips show marking a guide, using snips to cut a shingle, and turning a cut edge with a hand seamer. Whole pieces establish the course pattern; fitting individual pieces matters where those courses approach a hip, ridge, edge or adjoining plane.
Step 05
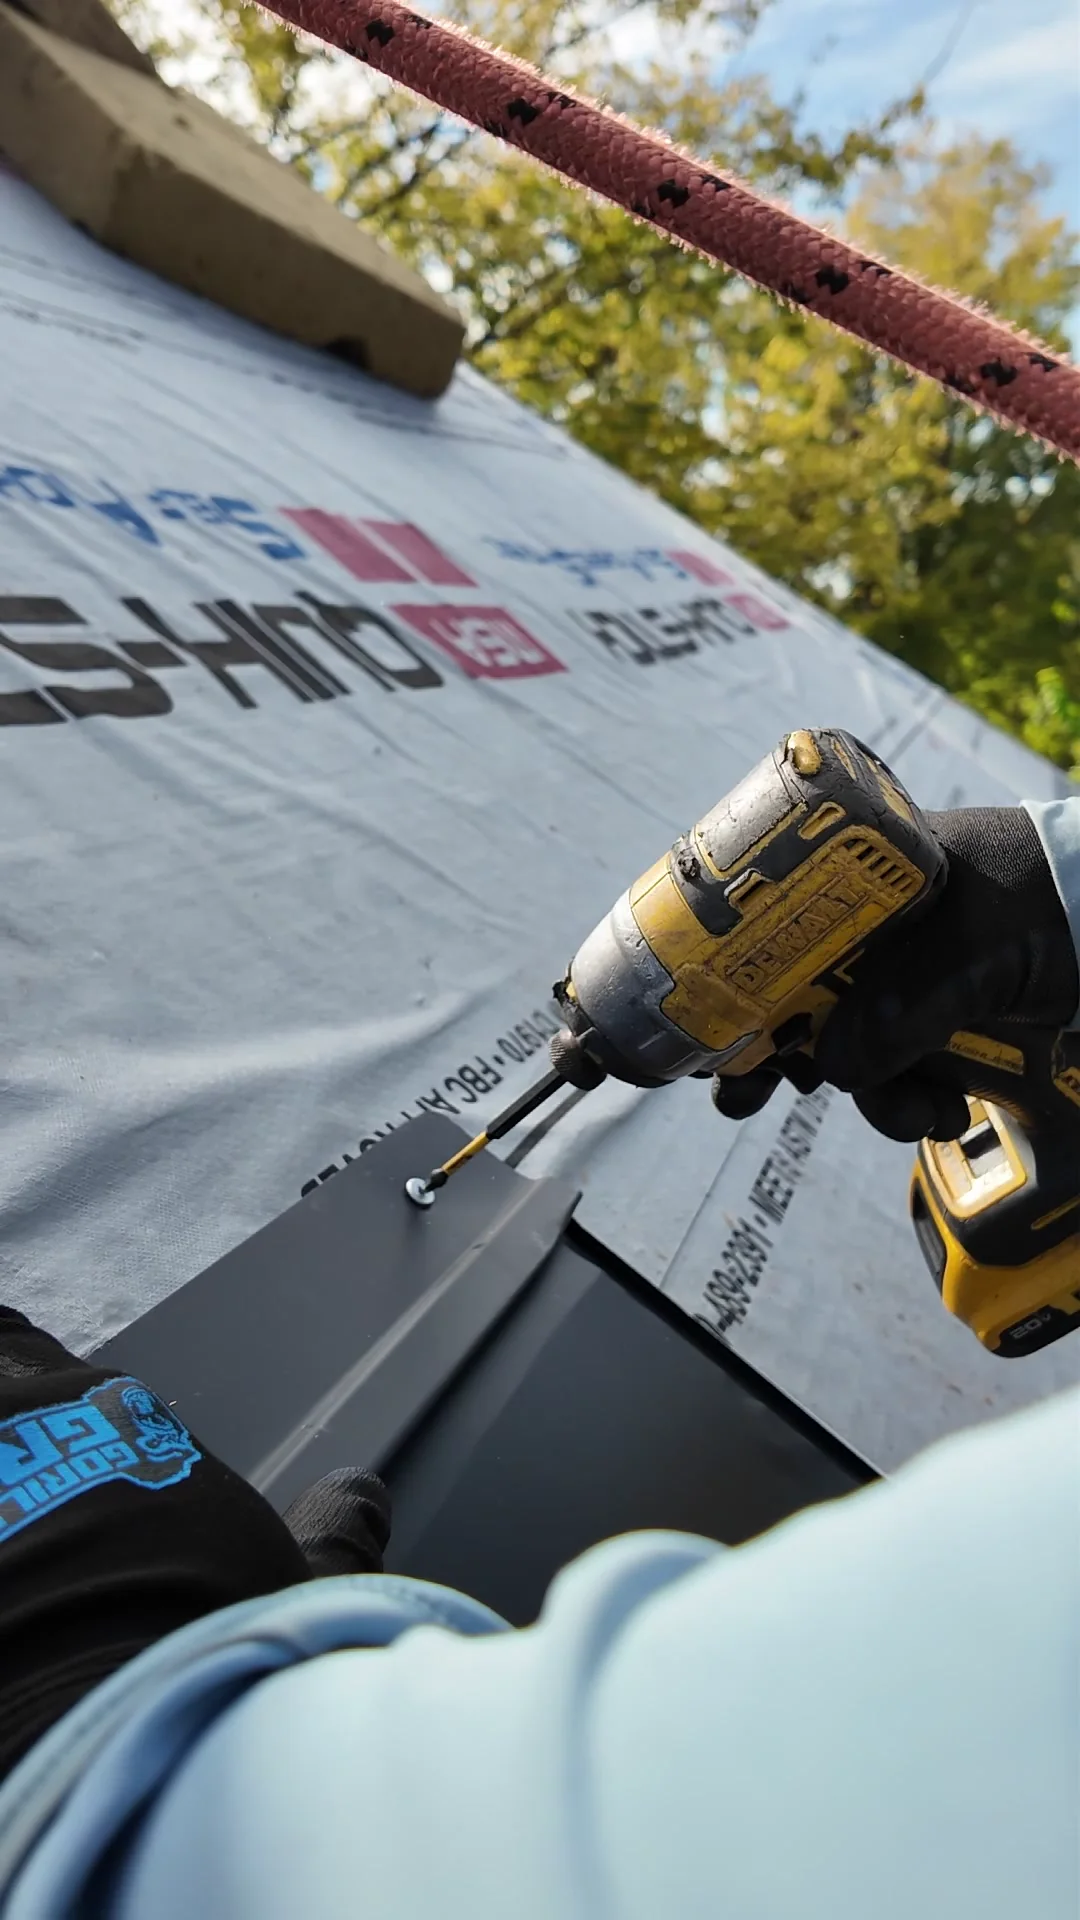
A close-up shows grey metal shingles being positioned, then a driver securing a fastening edge while it is still exposed. That edge is visible at this installation stage. It is not a clip from a standing-seam panel and is not evidence of the entire roof's screw pattern.
Step 06
Footage includes cap work above the shingle courses. The finished view shows ridge and hip lines crossing several roof planes, making the trim easier to understand than a tight close-up alone. It does not demonstrate vent capacity or invisible flashing details.
The completed-appearance view shows gray, slate-textured steel shingles and coordinated trim across intersecting planes. The signed scope verifies the named shingle and gauge; the footage illustrates the work sequence without making a weight, tested rating, or final inspection claim.
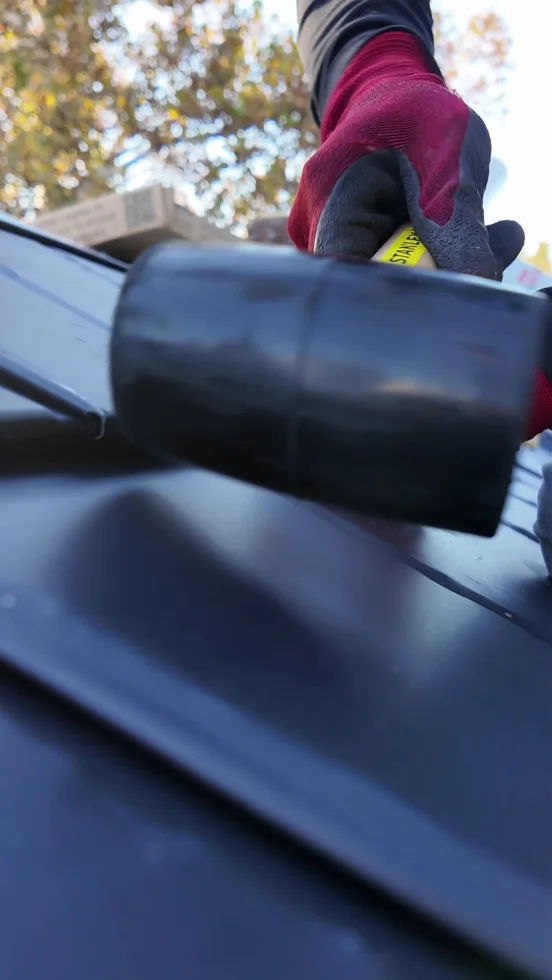
Field detail 01
A close-up shows the installer tapping the slate-look steel shingle with a mallet as it meets the adjoining piece. This is a fitting operation, distinct from driving the fastener into the exposed edge.
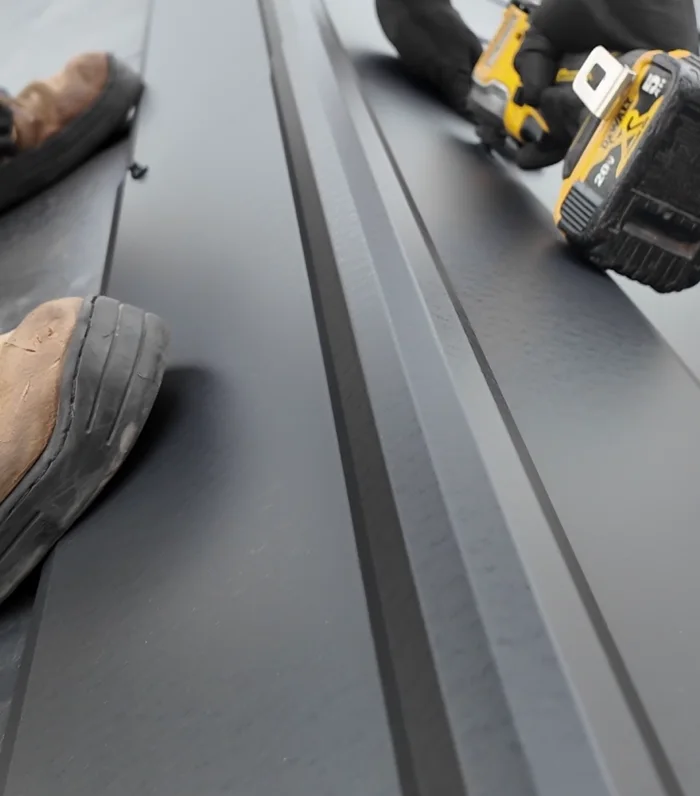
Field detail 02
The later close-up shows the driver at a separate formed cap at the ridge. The finished courses alone do not show this detail. Ask whether a shingle quote names the cap, its attachment and any ventilation scope separately.
03 · From the Job Site
Study the hips and ridges instead of only looking at the pattern in the middle. Short shingle courses have to turn, stop or be cut where the planes meet. The work close-ups show how the crew made those pieces fit.
Open the original reel on YouTube04 · For Your Own Roof
Use the wide photo to read the courses across the roof and the close-up to see the hand-formed cut edge. That pairing answers a practical question a pattern sample cannot: what happens to the shingle layout when a course reaches a hip, ridge or roof edge?
Keep going: Metal shingle roofing · Read the metal roof trim and flashing guide · More Tennessee project stories
05 · Common Questions
No. The project used a stamped steel product with a slate profile. Slate describes the appearance, not the roofing material.
The signed scope identified 24-gauge steel for the Modern Metal Slate Profile Shingle. That is a project specification, not a thickness recommendation for every stamped product.
On this project the crew worked with individual shingles, fastening edges, and successive courses. Standing seam uses longer panels joined along raised seams. Both still need roof-specific underlayment and trim.
Factory-size pieces need to meet the shape of the actual roof. The crew is shown marking, cutting and shaping individual pieces as part of fitting the courses to the roof details.
No. The footage shows underlayment being installed, but the exact product should come from the documented specification rather than a guess based on color or texture.
The finished image shows caps that follow the hips and ridge separately from the patterned shingle courses. In a quote, ask how the caps, terminations and any venting will be specified for your roof.
It is the steel gauge listed in the project scope. It does not tell you the tested wind or impact rating, the coating warranty or how a whole assembly will perform. Ask for the actual product and assembly documents if those details matter.
Repeating pieces lay out the field, but the runs have to stop and fit where planes meet. The footage shows the crew marking, trimming and forming individual pieces rather than carrying a full-size shingle through a boundary.
The Metal Roofers · Nashville, Tennessee
Tell us what you have in mind. We’ll take a look and explain what should go into the scope for your property.
Request an inspection and quoteSee more project stories →