Metal Roofing Alliance Member
TVA Preferred Partners Network
10,000+ Metal Roof Jobs
Nashville, TN
Licensed & Insured
BBB A+

Open 8am–8pm
(615) 649-5002Schedule Your
Appointment
Appointment
From The Metal Roofers’ Job Files · Wilson County, Tennessee
The roof on this brick Lebanon home is Copper Penny-colored steel, not solid copper. The Metal Roofers formed the 1¾-inch Ultra-Snap standing-seam panels on site. Concealed clips hold the panels in place without exposed screws across their faces.
Watch the installationSee the finished roof ↓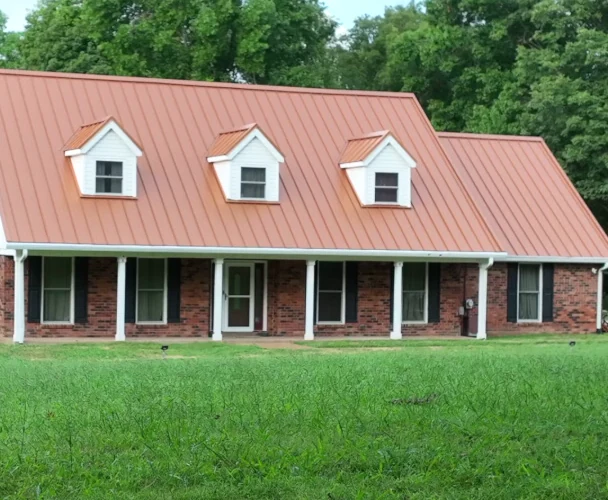
Lebanon, TN
Residential replacement
Copper Penny
Coated steel finish
1¾-inch Ultra-Snap
Snap-lock standing seam
Concealed clips
Fasteners under the panel seams
01 · The Finished Roof
Stand in front of this Lebanon home and the first thing you see is color: copper tones above reddish brick, with three white dormers breaking the roofline. From the air you see the other story. A long panel run is straightforward until a dormer or chimney interrupts it. The finished photos show where those lines stop, restart and meet.
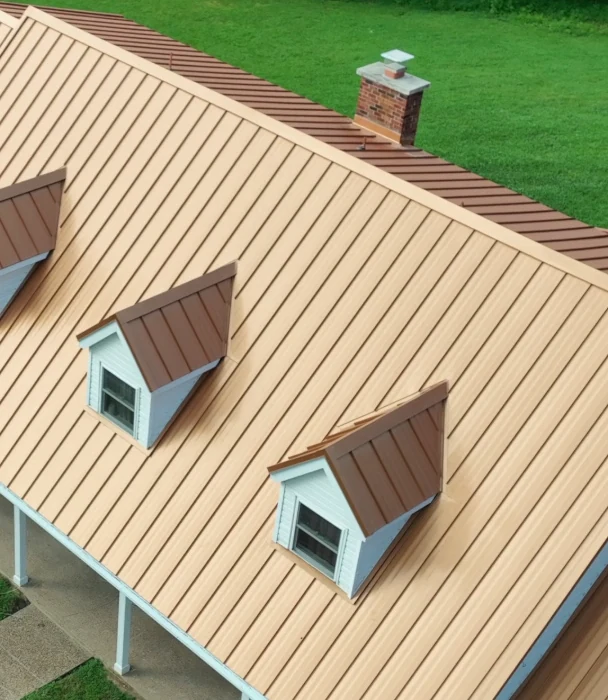

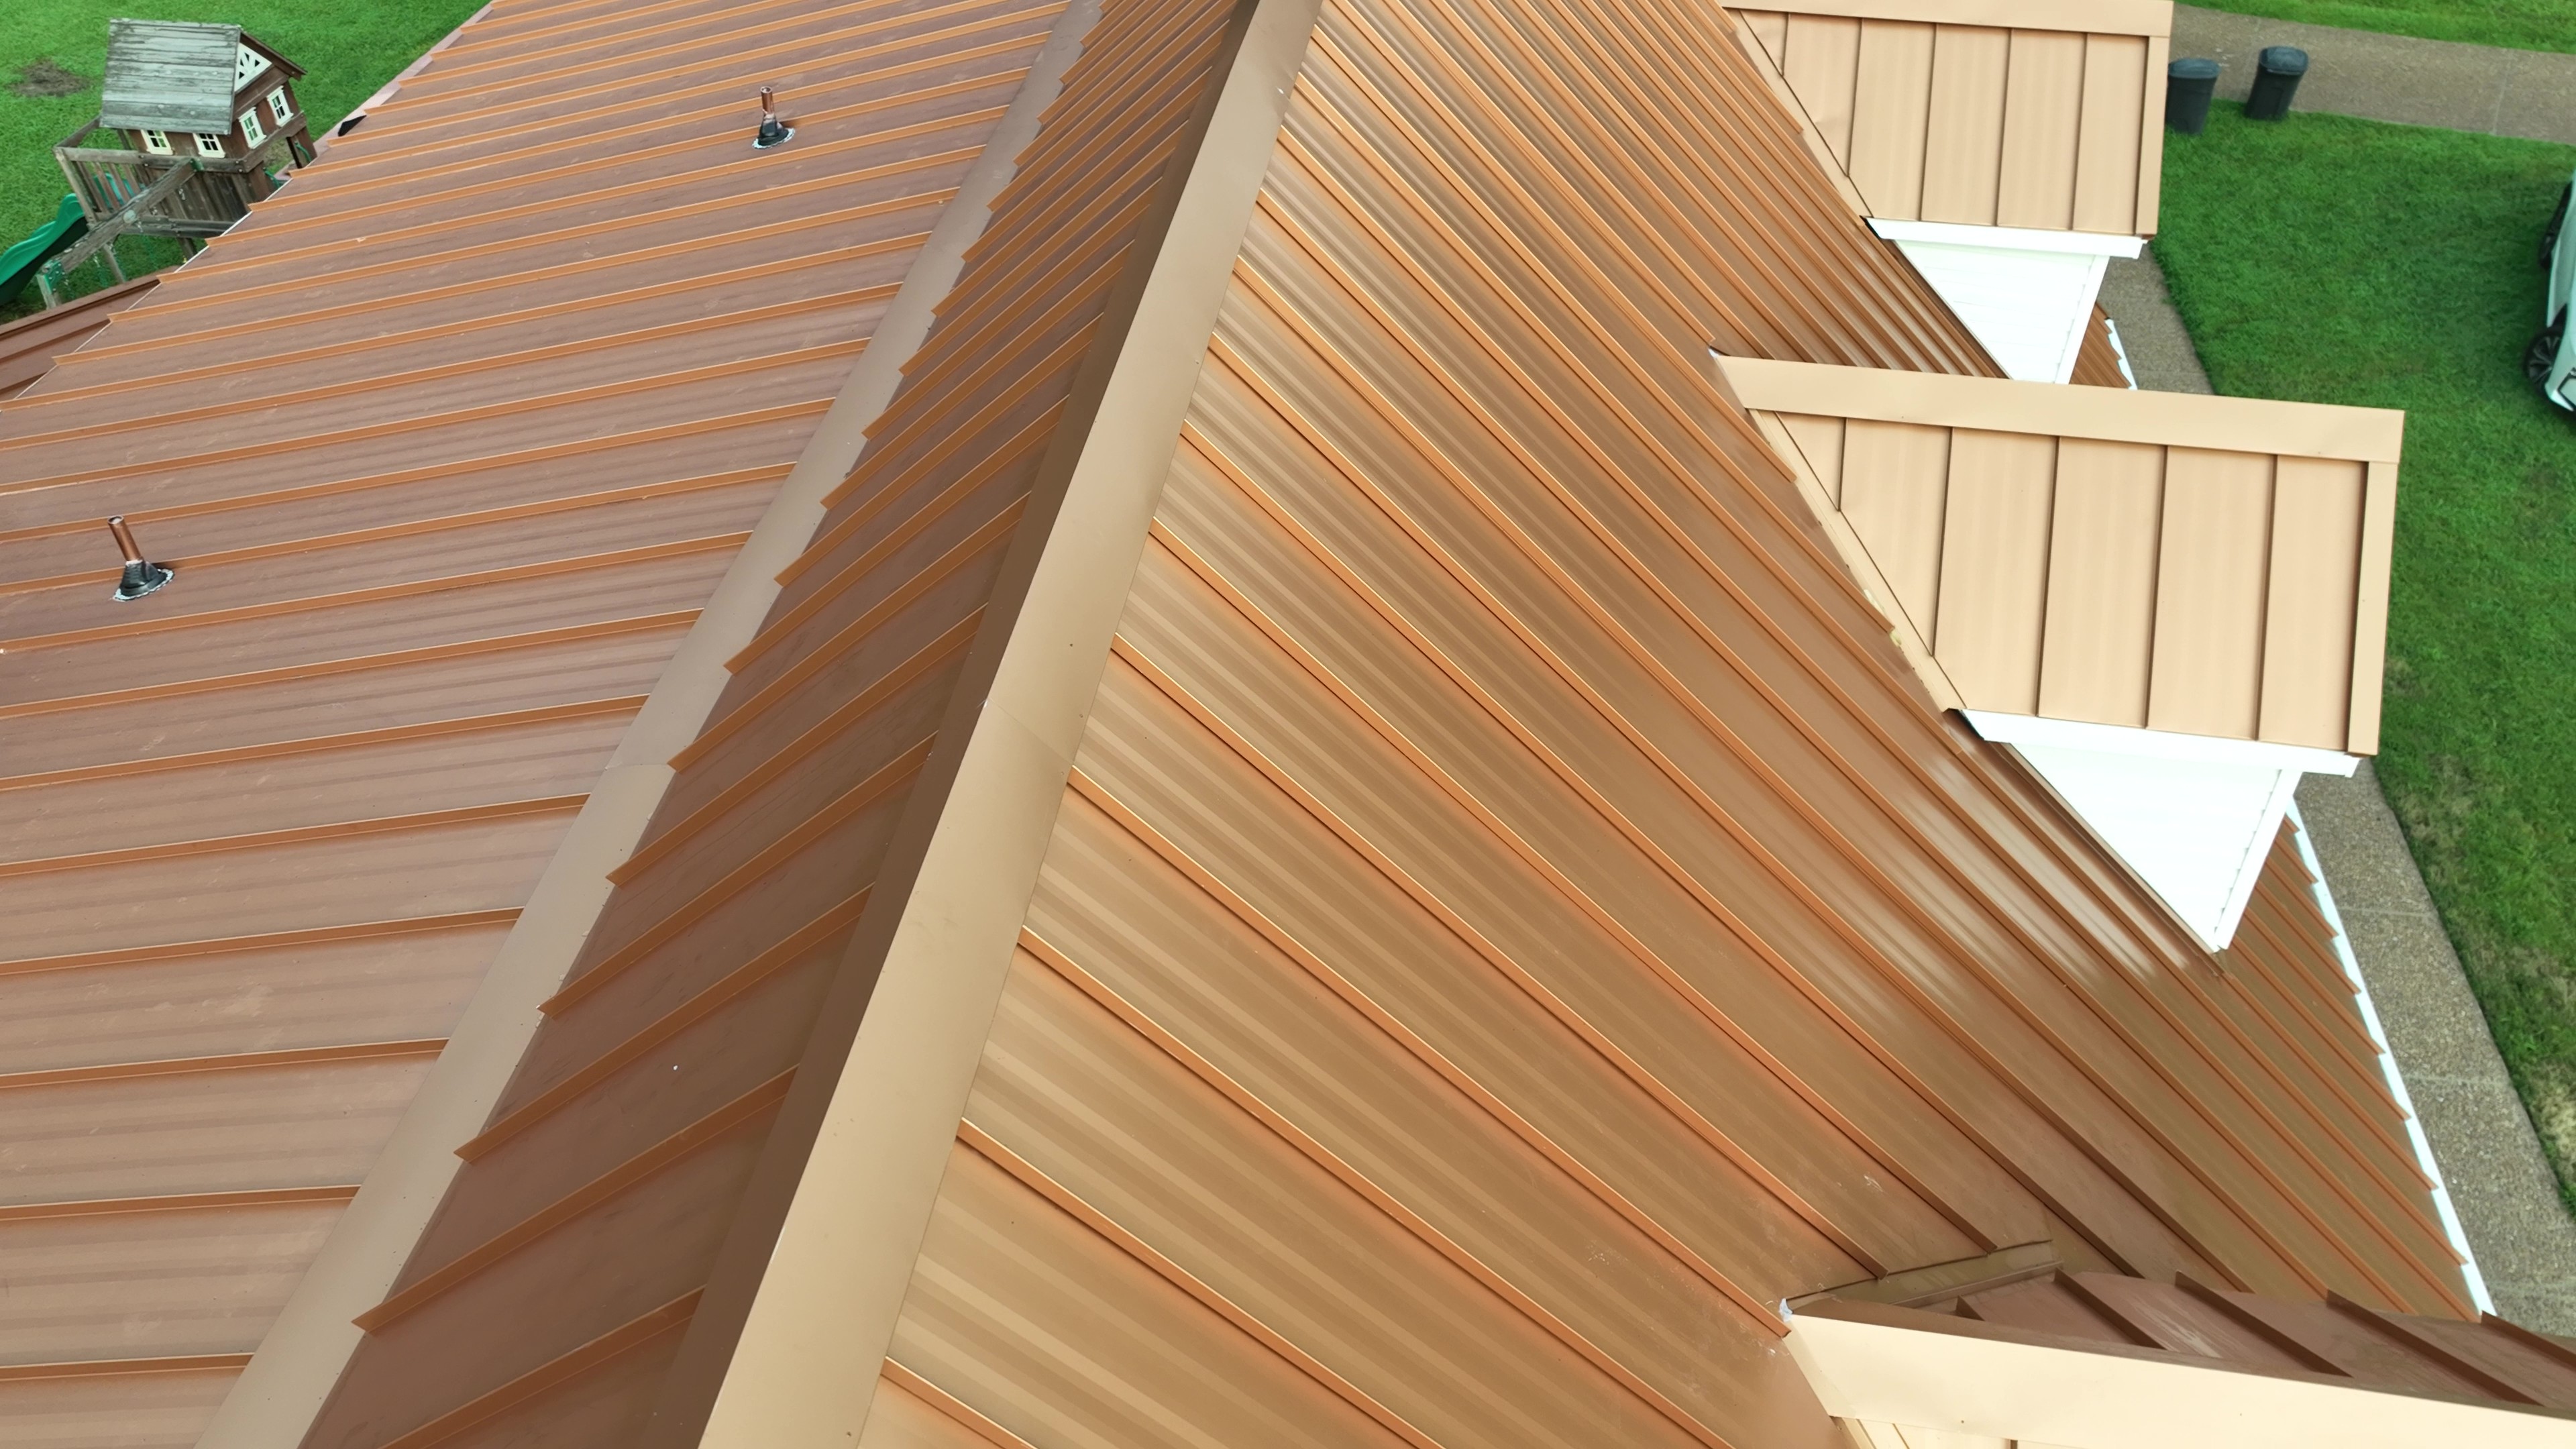
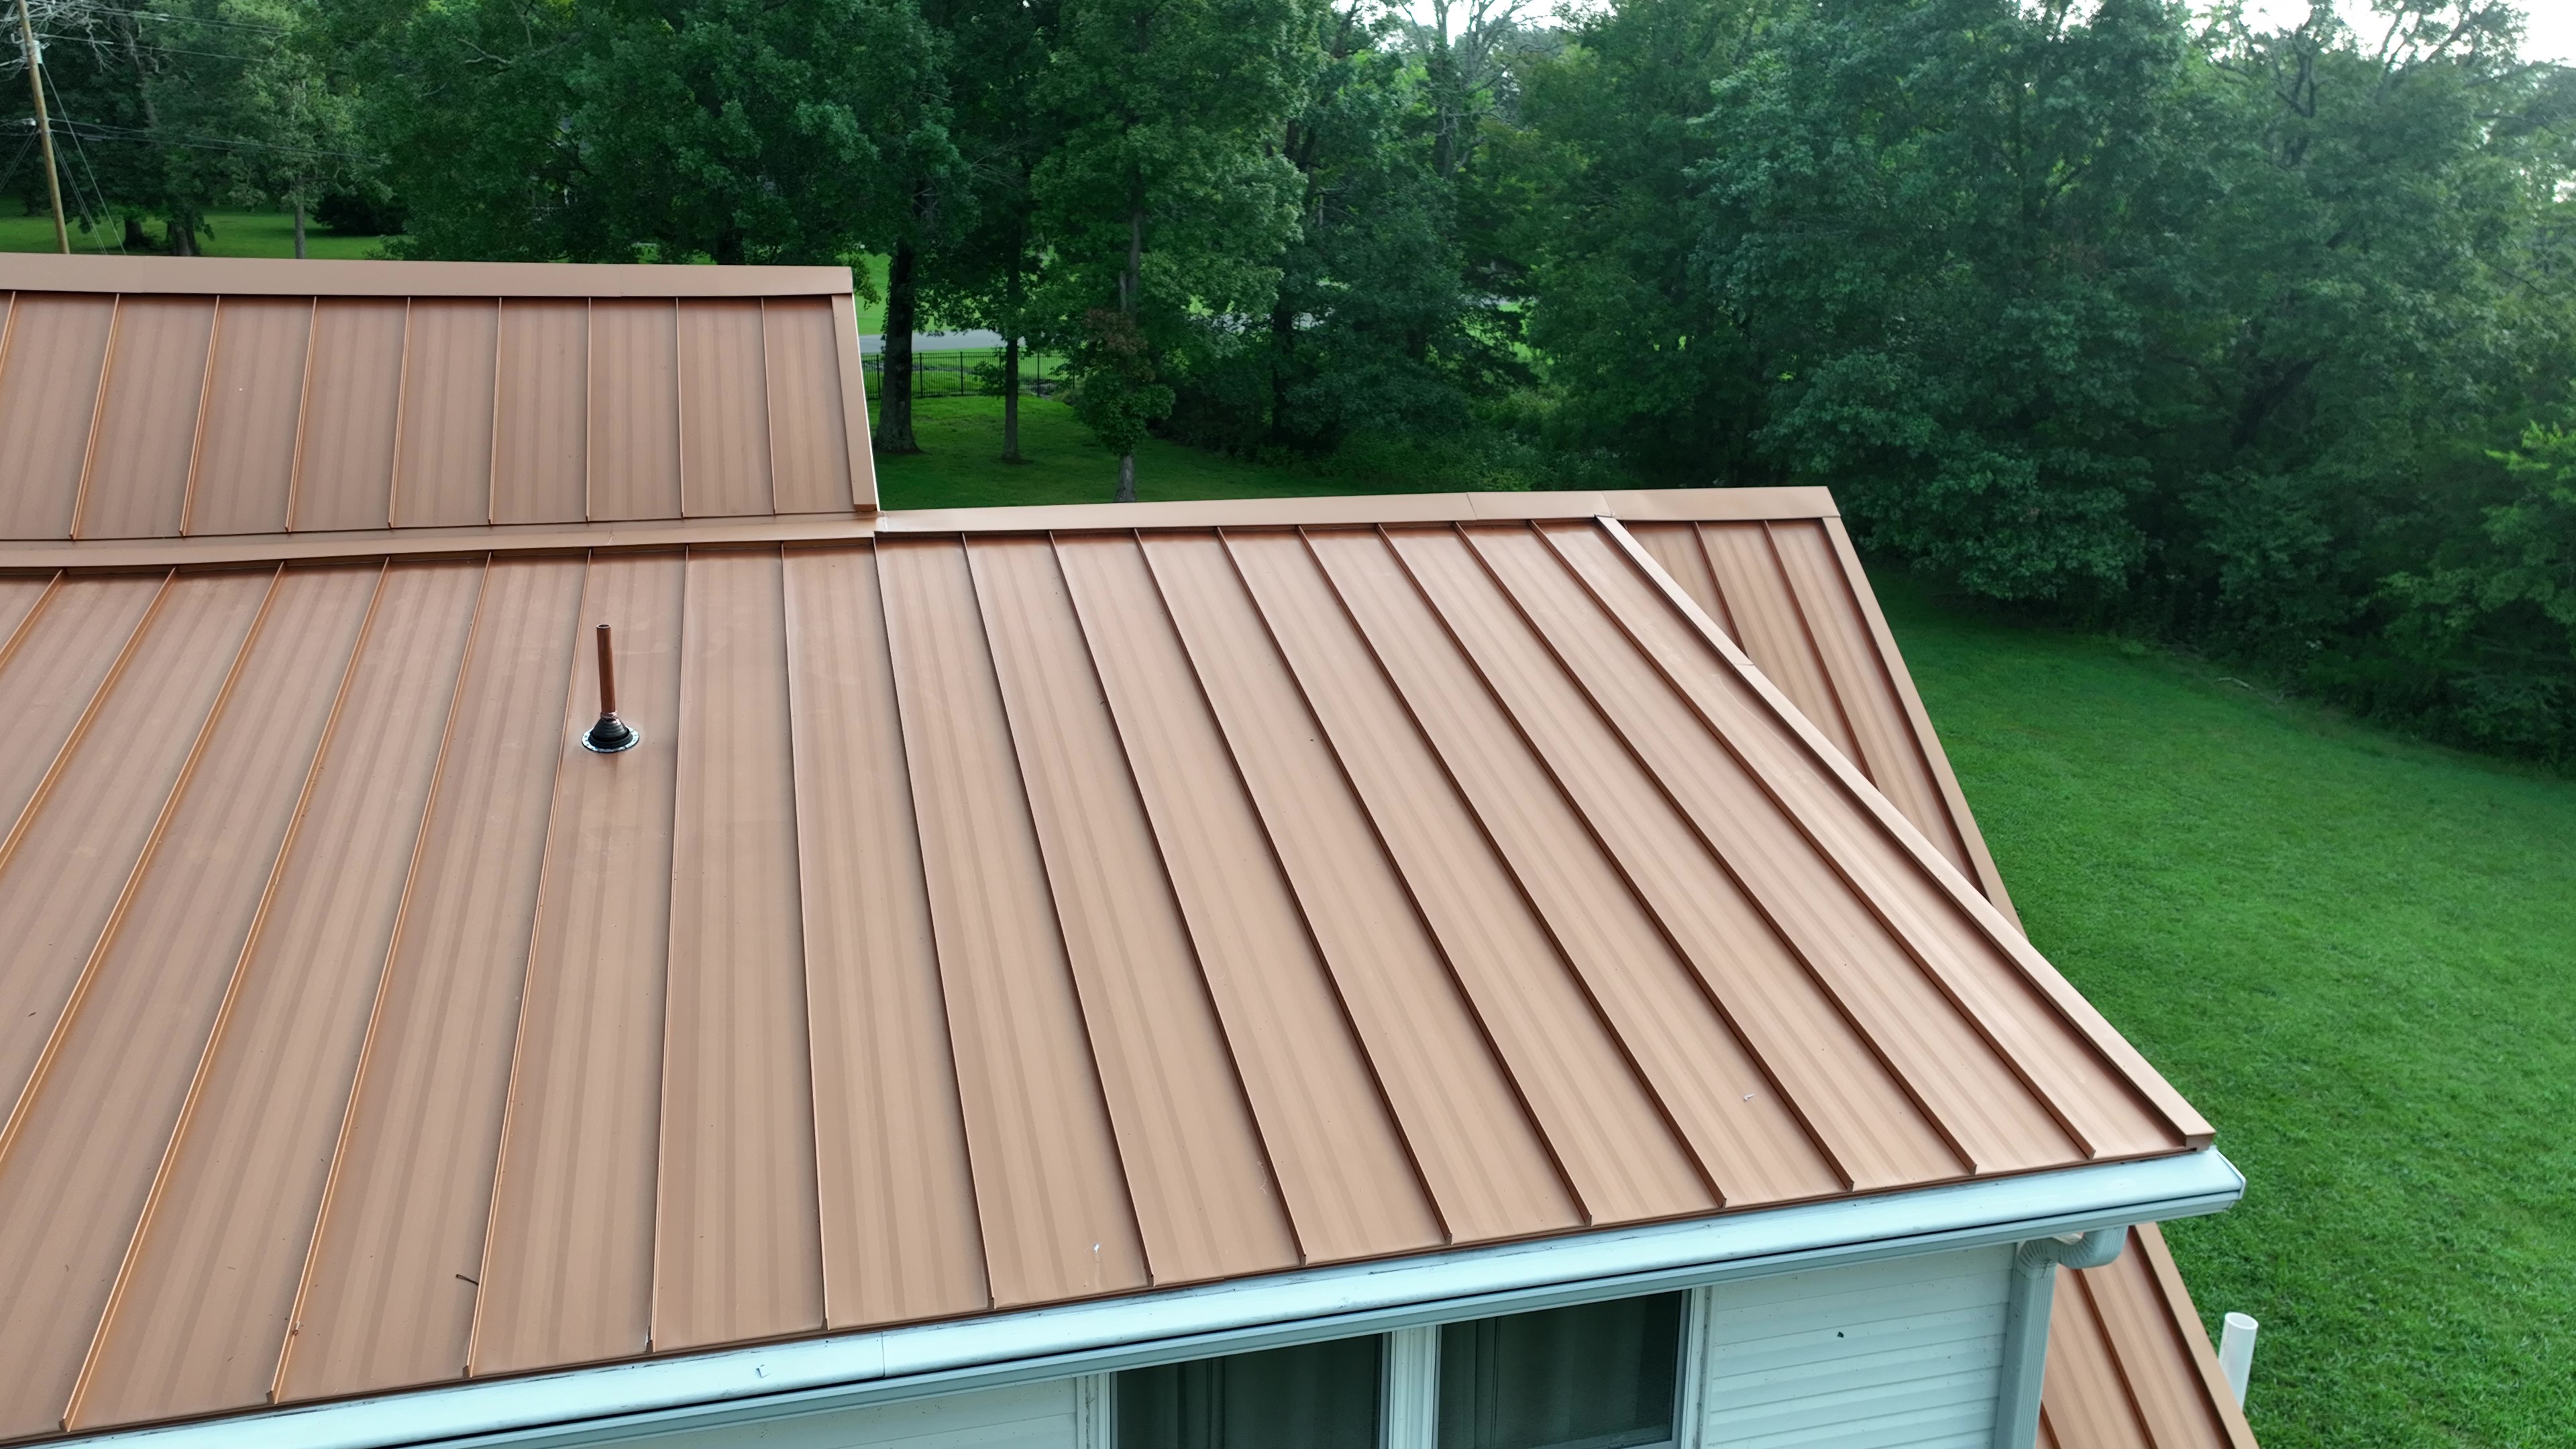
These are views of the same roof, not color samples. Copper Penny reads brighter in some shots and deeper in others. When choosing a finish, compare a metal sample against your own siding, brick and trim in daylight.
The Short Answer
Copper Penny-colored standing-seam steel with a 1¾-inch Ultra-Snap seam and concealed clips. The scope called for removing the old shingles, underlayment and flashing down to the deck, then checking the exposed wood. The project records also specify site-formed panels and formed roof trim.
Sources: signed project scope, the original install reel and signed August 2026 closeout. How we document our work.
02 · The Work, In Order
Step 01
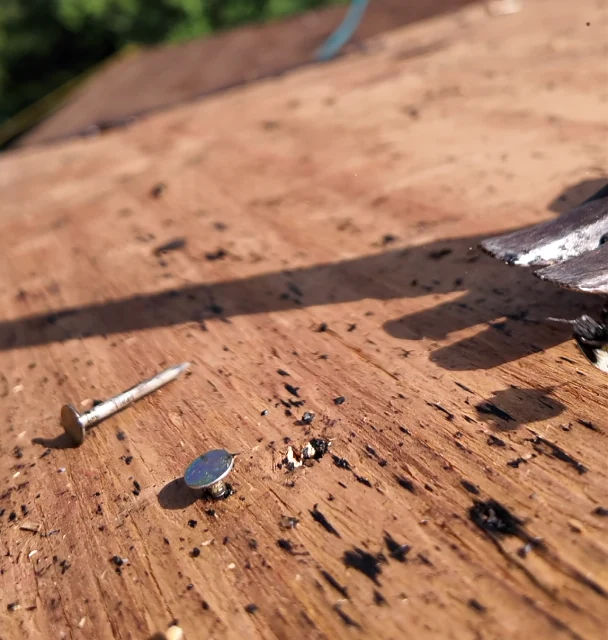
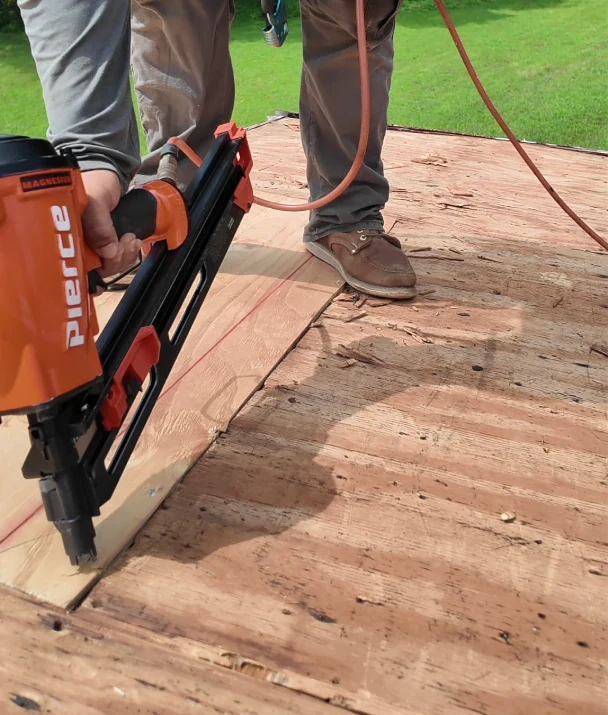
The crew’s written scope was to strip the shingles, underlayment and flashing to the deck. The footage shows the bare deck and then a fresh wood section being fastened alongside older wood. Those are different moments: the first exposes the deck, the second documents localized work. It does not prove a complete redeck.
Step 02
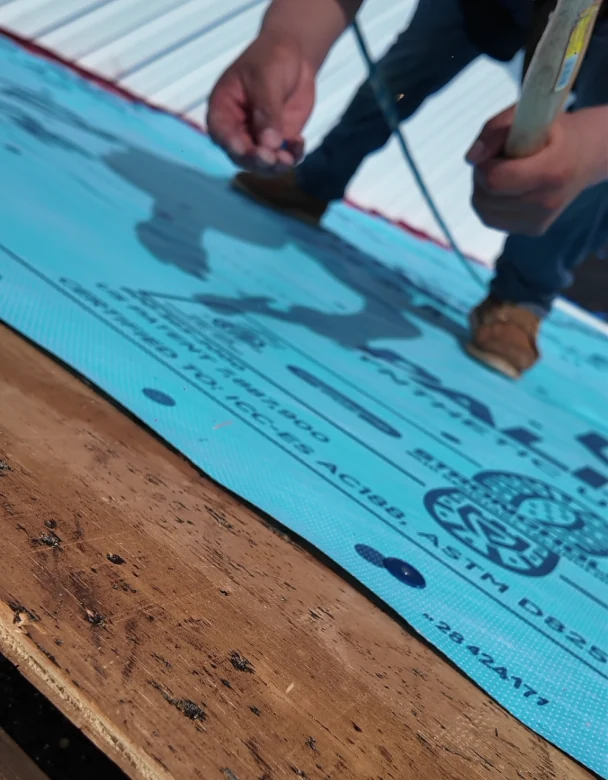
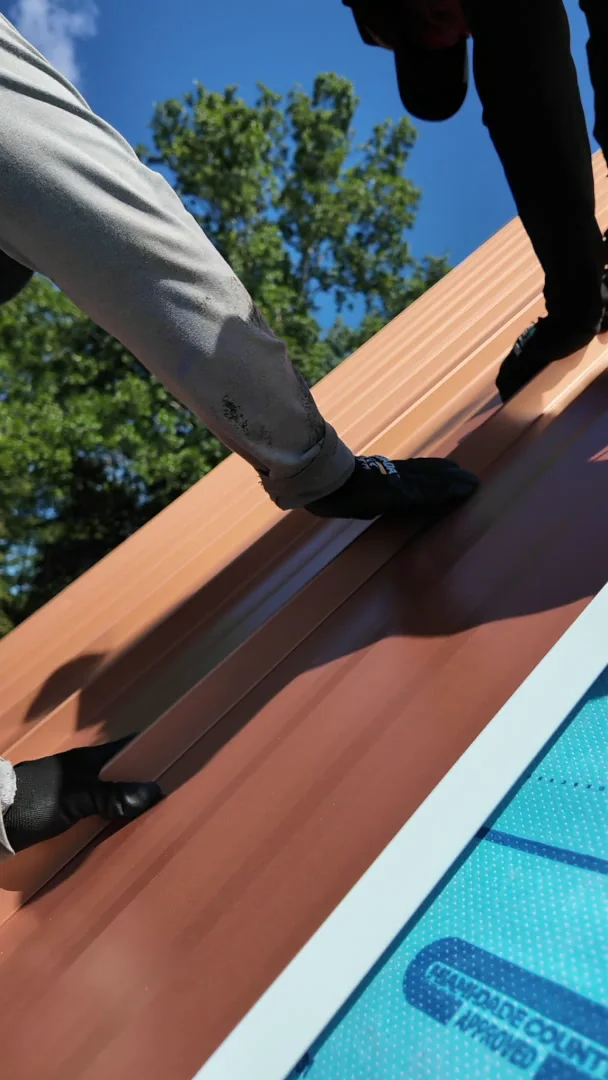
The blue layer in the reel is underlayment. It goes over the roof deck, under the metal. The photos show where the crew was working, not every inch of coverage or a product label. Ask your roofer to name the underlayment and describe where it will be used, especially around breaks in the roof.
Step 03
The written scope specifies on-site roll-forming and the Ultra-Snap profile. The source reel shows the setup at the truck. A roll former shapes the edges of the steel into the standing-seam profile; it avoids having to treat every plane on this dormered roof as if it takes the same length of panel.
Step 04
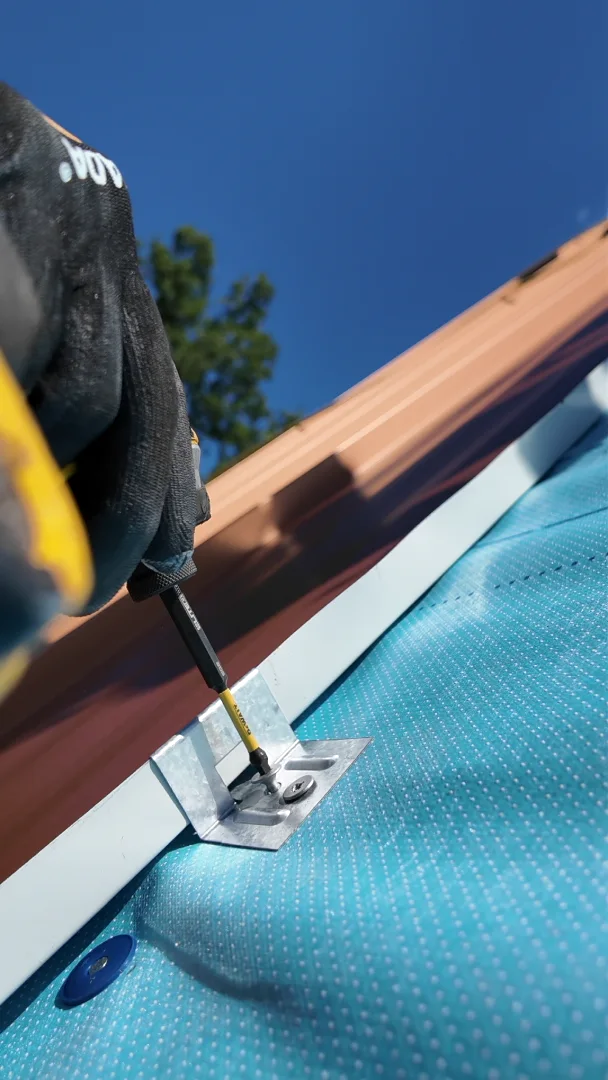
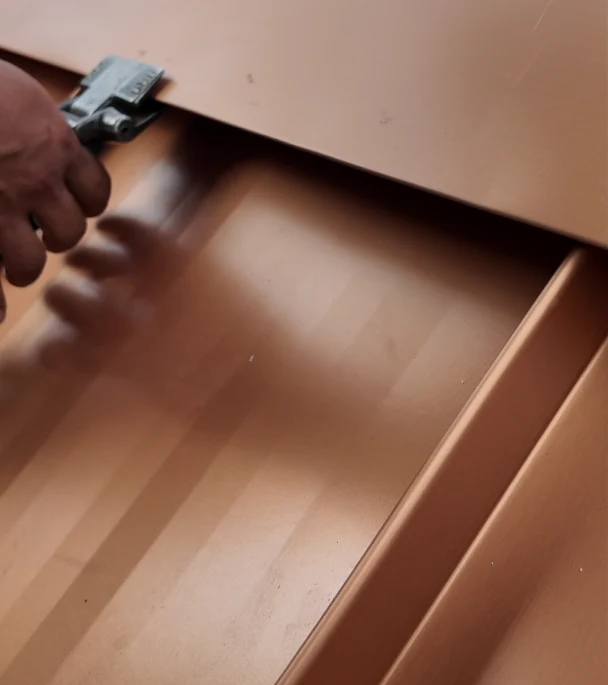
Here is the difference from a screw-down panel. In the close-up, the installer drives a screw through the clip at the panel edge, while the wide metal face remains unpierced by that fastener. The following frame shows the neighboring panel guided into place over the attachment. The 1¾ inches describes the seam profile, not a clip spacing.
Step 05
The written scope includes formed trim at the eaves, rakes and ridge. In the reel, the crew works a formed piece beside a seam. At a dormer, wall or chimney, panel runs must stop and adjacent surfaces must meet; the finished photographs show how those lines come together, not every concealed fastening or flashing detail.
Step 06
From the front you see what the Copper Penny finish does against the brick. From above you see the field seams, three front dormers and chimney in context. The project was closed with signed completion and workmanship-warranty documents dated August 2026. The two records answer a different question than a photograph: what the job paperwork actually confirms.
03 · From the Job Site
Start with the deck at 0:11, find the blue underlayment around 0:20, then watch the clip and panel fitting around 0:29–0:32. The finished drone and front views follow after 0:54.
Watch the original Lebanon reel on YouTube04 · For Your Own Roof
Keep going: Standing-seam roofing systems · Metal roof trim and flashing guide · Choosing a metal roof color
05 · Common Questions
No. Copper Penny names the finish on this steel roof. Solid copper is a different roofing material. Compare real samples outdoors and ask the installer to identify both the substrate and finish in writing.
No overlay was specified. The written scope called for tearing off the shingles, underlayment and flashing to expose the deck for inspection. The reel shows bare wood during that work.
The footage shows one fresh wood section next to existing decking. Neither the video nor the documentation reviewed establishes how much wood was replaced. A deck inspection is not the same as a full redeck.
No. The written scope identifies a snap-lock profile. On a mechanically seamed system, the seam is folded with a seaming tool; “standing seam” by itself does not tell you which system is on a roof.
No. A screw attaches the clip near the edge of the panel. The adjacent panel covers that fastening area. That describes the panel field, not every component in the roof assembly.
On-site roll-forming produces runs of panel to suit the measured roof. On this house, three dormers break up the main front plane, so shorter runs and transitions are a different fit-up job from the long, open sections.
The front and aerial shots are of the same finish. The angle, light and camera change how it reads. If matching brick or trim matters, hold an actual sample by those materials outdoors.
Dormers interrupt the panel layout and add roof-to-wall, edge and valley details where applicable. Ask which transitions the quote includes. A finished photo shows how parts meet outside, not the layers covered by the metal.
Look beyond the square footage. Tear-off, access, deck repairs, cut-up panel runs and the number of wall, chimney and valley transitions can change a bid. Compare scopes rather than using a picture to estimate a particular house.
Ask what confirms the work is complete, what the workmanship warranty covers, and which material or finish documents apply. This project has signed completion and workmanship-warranty records dated August 2026.
Local Metal Roofing · Lebanon, Tennessee
We’ll look at the roof, talk through the metal and finish options, and show you what belongs in the quote.
Schedule a complimentary inspection and quoteSee more project stories →