Metal Roofing Alliance Member
TVA Preferred Partners Network
10,000+ Metal Roof Jobs
Nashville, TN
Licensed & Insured
BBB A+

Open 8am–8pm
(615) 649-5002Schedule Your
Appointment
Appointment
From The Metal Roofers’ Job Files · Farmhouse back porch · Black standing seam
This Franklin farmhouse video shows a black standing-seam metal roof on the back porch. It is a porch case study, not a claim that the entire farmhouse roof was replaced. The useful lesson is how roof panels, roof edges and the connection to the existing house come together on a focused project.
Watch the project reelSee the finished roof ↓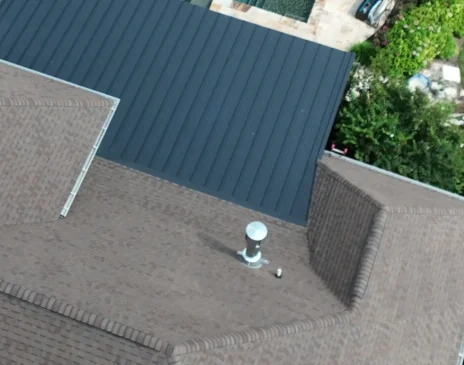
Franklin, TN
Farmhouse back porch
Black standing seam
Visible finish and profile
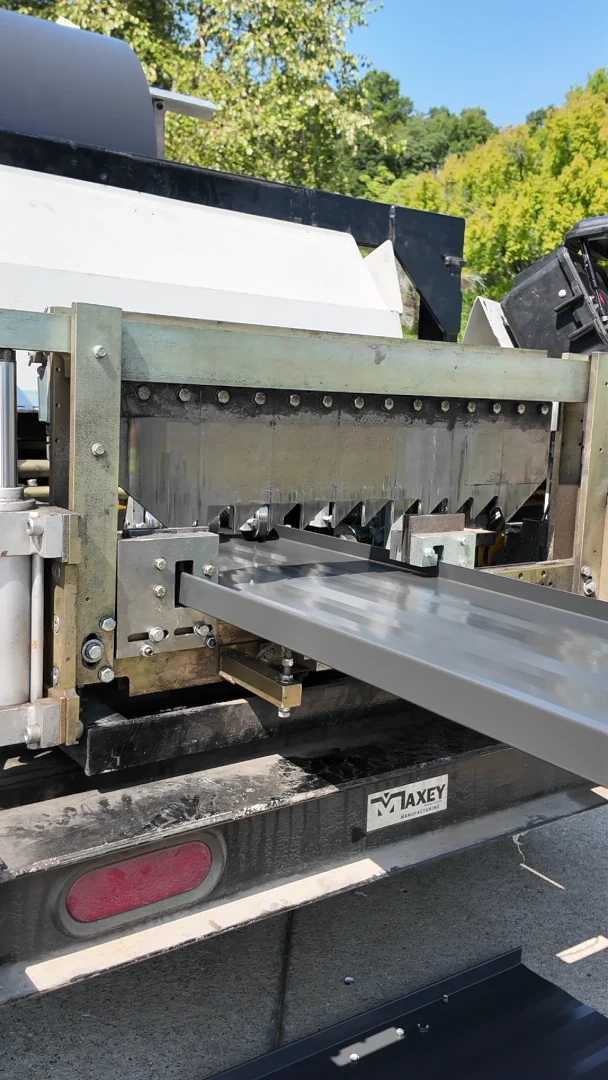
On-site forming
Shown in the matched footage
Porch only
Not a whole-house reroof
01 · The Finished Roof
The roof reads as a single dark plane over the porch, with the surrounding pasture and wooded rise visible behind it. The repeated seam lines are one of the strongest visual details. The scope question is more useful than an invented homeowner anecdote: where did the porch work begin and end, and how did the new roof meet the rest of the house?

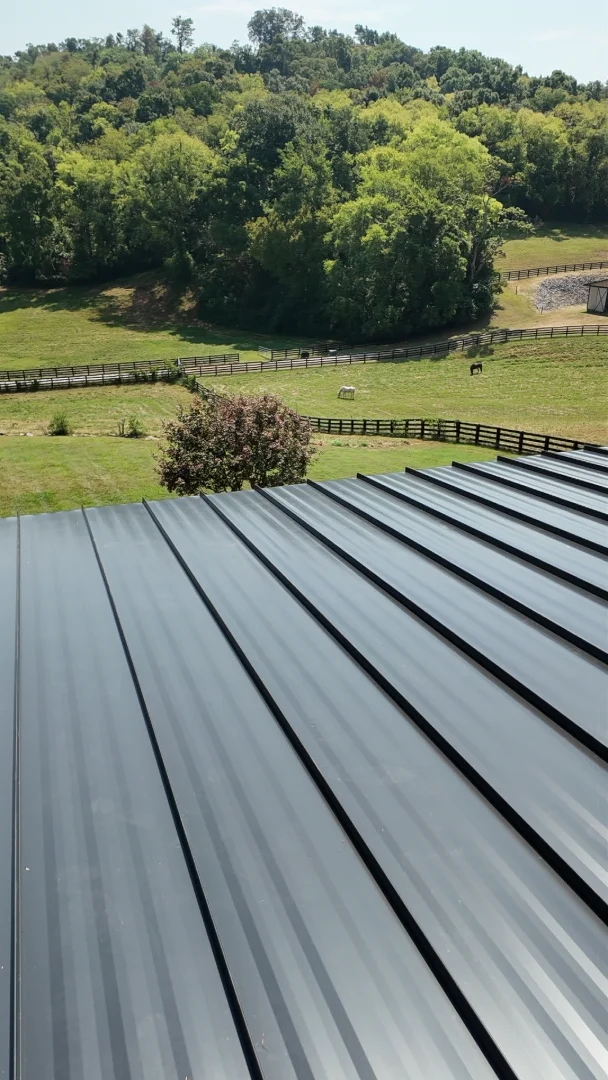
The long black seams read clearly against the pasture. They show the finished porch plane, not the whole farmhouse roof. Use the detail views to ask how the new section meets the rest of the house.
The Short Answer
The Franklin project footage documents a black standing-seam roof over the farmhouse's back porch, not a whole-house reroof. A matching Franklin job is closed and has a signed August 2026 agreement; August is the agreement date, not a claimed completion date.
The matching reel shows the installed porch and a closed Franklin job has a signed contract. The actual measured pitch, product gauge, exact membrane and concealed house tie-in are not asserted from these records. How we document our work.
02 · The Work, In Order
Step 01
A porch-only agreement should identify the covered planes and what remains untouched. A roof plan or simple marked image can prevent a quote for one roof section from being mistaken for a whole-house price.
Step 02
The porch roof looks shallow from some angles, but the video is not a measurement and does not establish its pitch. Standing-seam products do not all use the same seam and minimum slope. Ask which product is proposed and what its published requirements say for the measured roof.
Step 03
Panel length, seam placement and the shape of the edges are decisions made for the actual porch. Look at the spacing of the finished lines and where the panel runs end. That helps distinguish the finished layout from a generic drawing.
Step 04
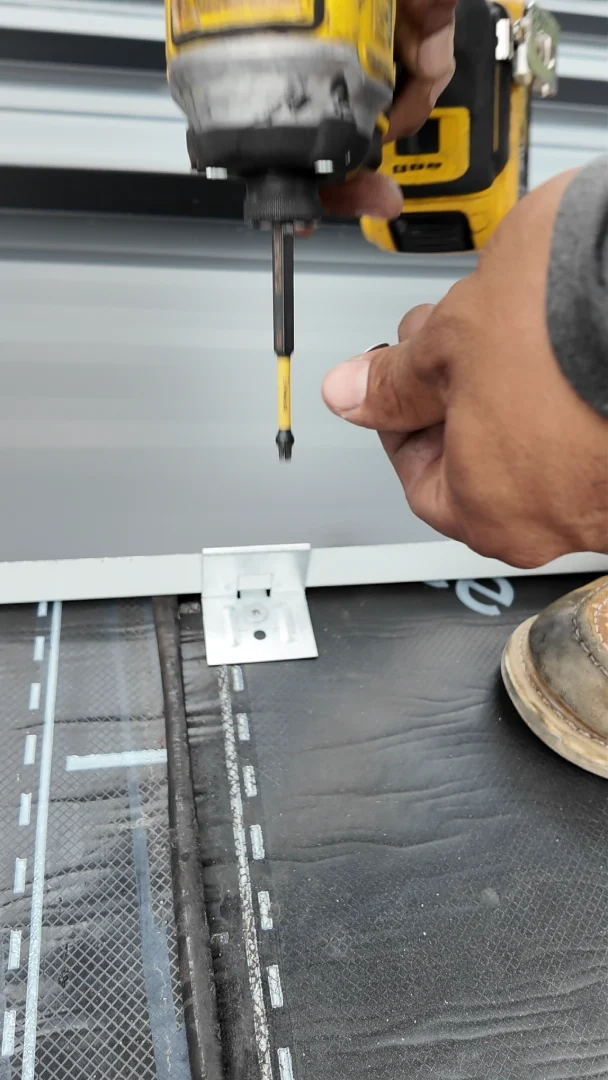
On a porch addition, the connection to the house is a design detail in its own right. Ask to see how flashing and drainage are resolved at the slope change or wall. The footage does not verify the concealed tie-in, membrane overlap or fastening below the finished metal.
Step 05
The finished roof view shows the dark runs from above. Under the terms of a real estimate, gutters, fascia, flashings, trim and work to adjoining roof sections may be included or excluded individually. Verify those boundaries before comparing bids.
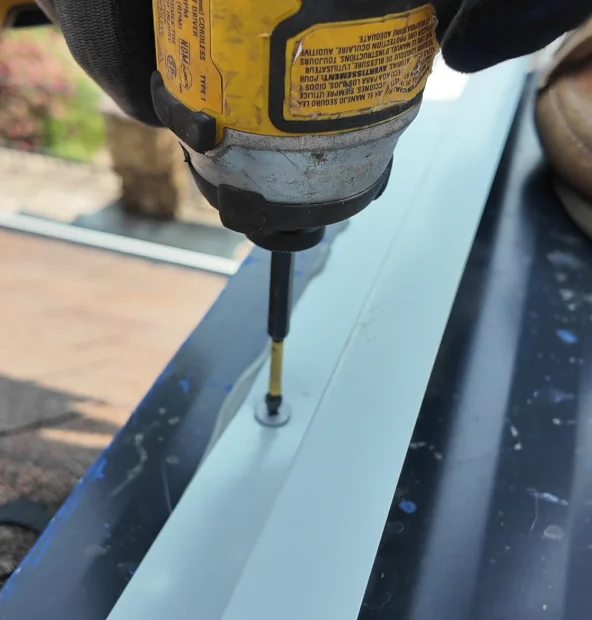
The original matched reel shows the installed black standing seam on the back porch. The matching Franklin job is closed and has a signed contract. This documents the porch project, not a replacement of the main house roof or a particular water-test result.
Field detail 01
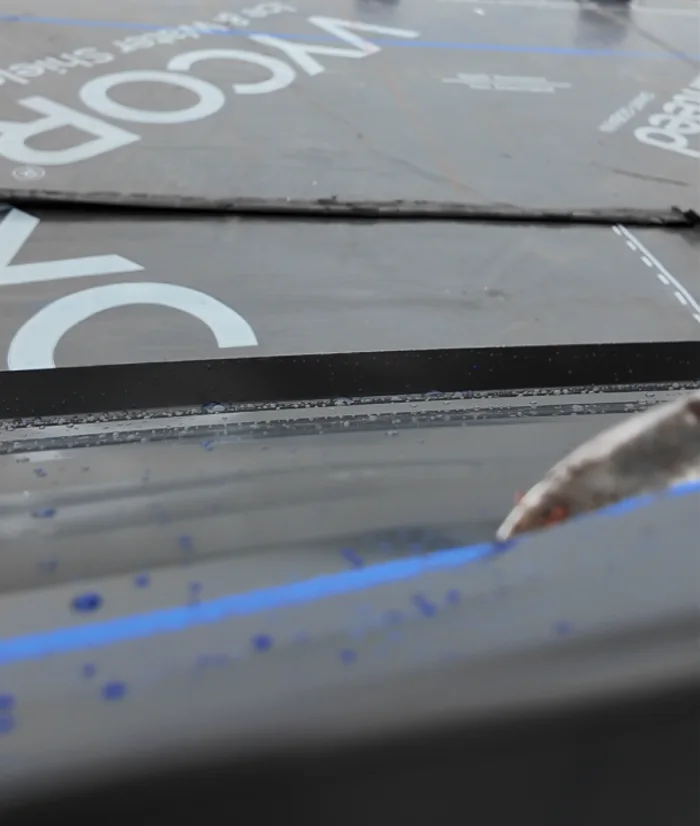
A blue layout line is visible on the uncovered roof underlayment. It gives a reference before the long black panels conceal the surface. The footage does not show a measured roof pitch or panel spacing.
Field detail 02
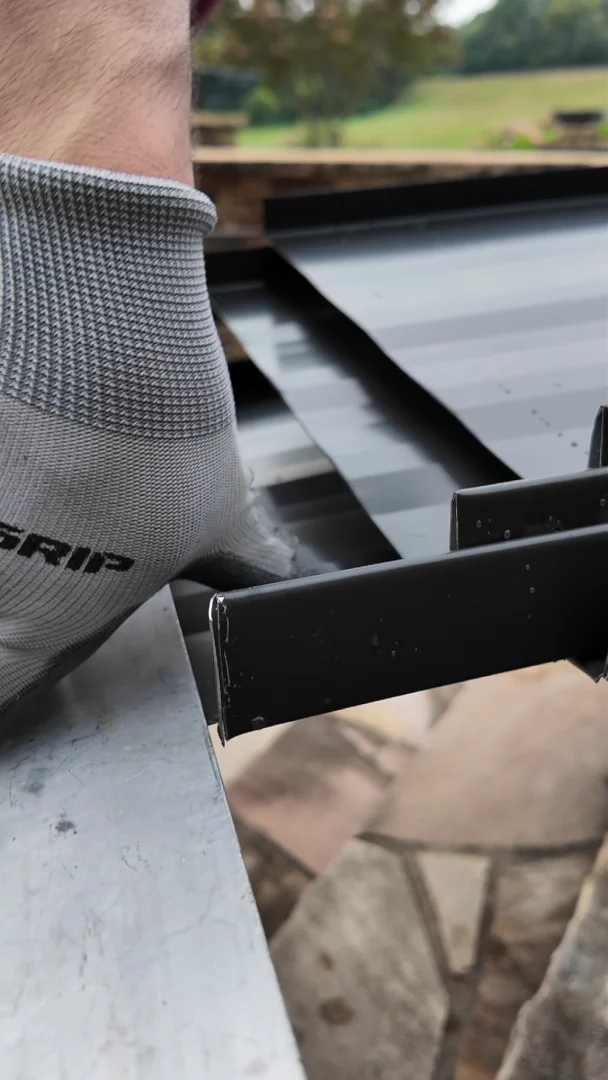
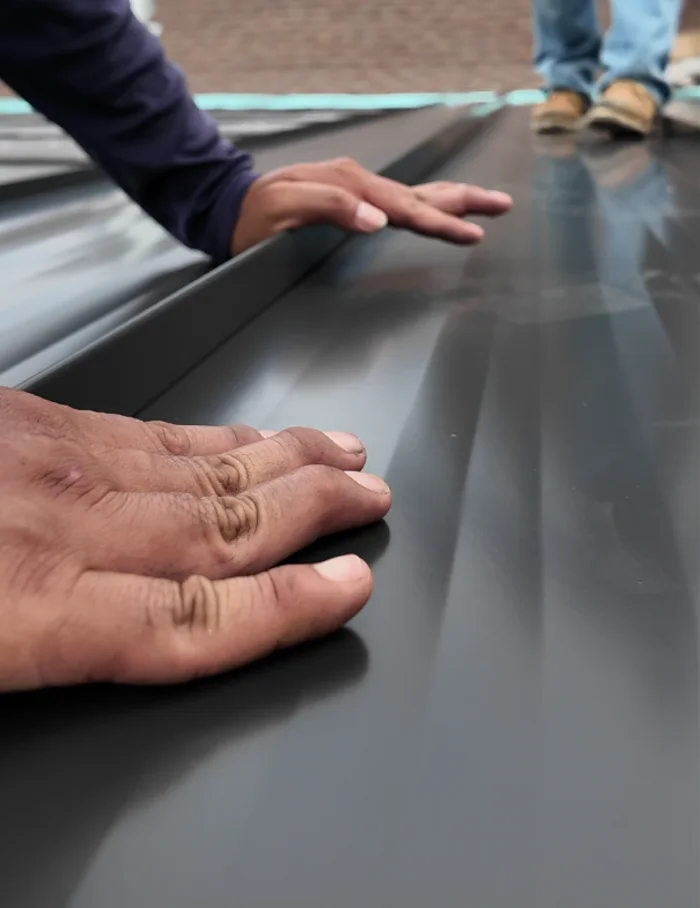
A gloved hand guides the edge of a black panel beside a raised seam. This is the fit-up before the joint is covered by the next view, not proof of the concealed connection to the house.
03 · From the Job Site
The long black seams read clearly against the pasture. They show the finished porch plane, not the whole farmhouse roof. Use the detail views to ask how the new section meets the rest of the house.
Open the original reel on YouTube04 · For Your Own Roof
Look at the finished porch as one roof plane. The long dark seams tell you how its panels run, but the most important thing to verify in a porch quote is where the new roof meets the old building, where water goes, and which adjoining surfaces are outside the work.
Keep going: Standing seam roofing · Compare standing-seam profiles by measured slope · More Tennessee project stories
05 · Common Questions
This video and case cover the back porch. Do not take the footage as proof that the main roof was part of the same project.
It depends on the measured slope, the exact system and the way the roof ties in to the house. Check the panel manufacturer's requirements before assuming every standing-seam profile is suitable.
Ask for the porch planes, the flashing at adjoining construction, the panel and fastening system, and a clear list of gutters, trim or other work that is not included.
Here black describes the appearance. It does not establish the steel gauge, paint chemistry or manufacturer.
A marked photo or plan helps show the covered roof planes and where work stops. That matters here because the project pictured covers the back porch, not the farmhouse's main roof.
No. The lines of the porch are visible, but perspective is not a measurement. Ask for the field-measured slope and the exact seam system permitted there before comparing panels for a porch.
No. The finished view records the porch plane, not hidden flashing laps. The contractor should describe how the tie-in, drainage and edge details work for your building in the written scope.
The Metal Roofers · Franklin, Tennessee
Tell us what you have in mind. We’ll take a look and explain what should go into the scope for your property.
Request an inspection and quoteSee more project stories →