Metal Roofing Alliance Member
TVA Preferred Partners Network
10,000+ Metal Roof Jobs
Nashville, TN
Licensed & Insured
BBB A+

Open 8am–8pm
(615) 649-5002Schedule Your
Appointment
Appointment
From The Metal Roofers’ Job Files · Wood-sided barn · Roof-integrated solar
At this Franklin barn, the solar cells sit within the dark roof surface instead of on a raised rack above it. Look closely at the installation footage and you can see the photovoltaic cell pattern next to the raised metal seams. Look back from the pasture and pond and those same components read as a continuous roof plane.
Watch the project reelSee the finished roof ↓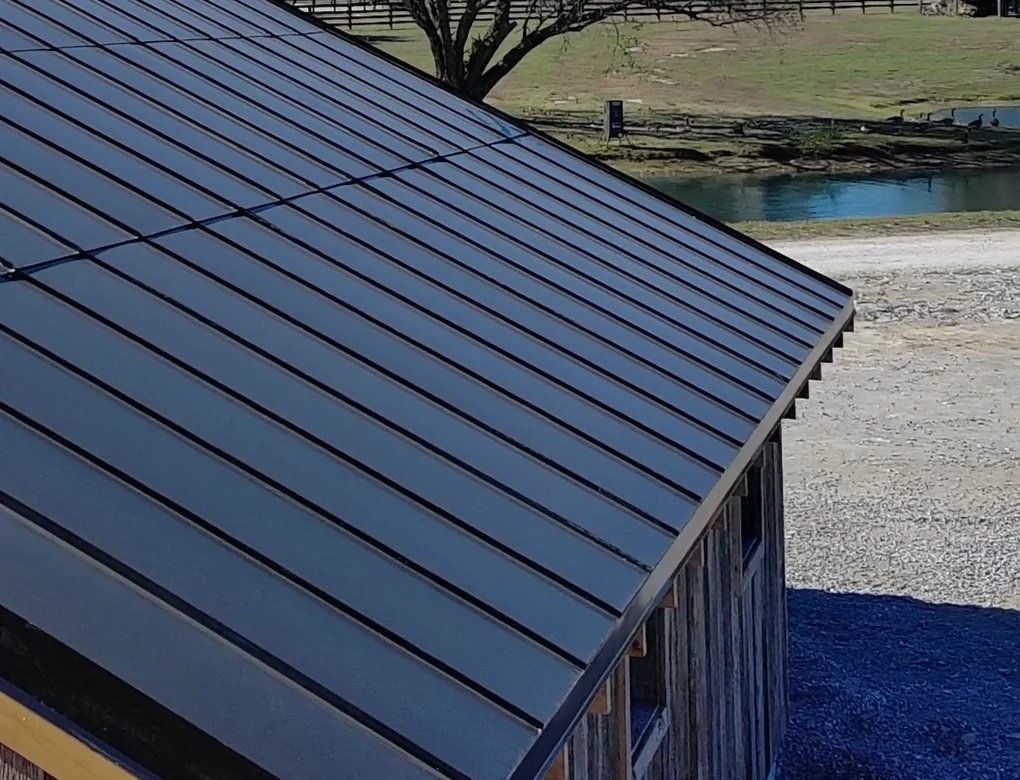
Franklin, TN
Wood-sided barn
Roof-integrated
PV sits in the roof plane
Glazed modules
Cell pattern visible in footage
Roof and electric
Separate scopes to verify
01 · The Finished Roof
The barn has weathered vertical wood siding and a simple roof plane over the area filmed. That contrast makes the design easy to see: the roofing still has its edges, seams and drainage geometry, but part of the roof also has an electrical role. Building-integrated photovoltaics, or BIPV, combine portions of the roof covering and solar generation. Rack-mounted modules above a conventional roof are a different option. The filmed project shows the first approach without establishing the owner's reason for choosing it.
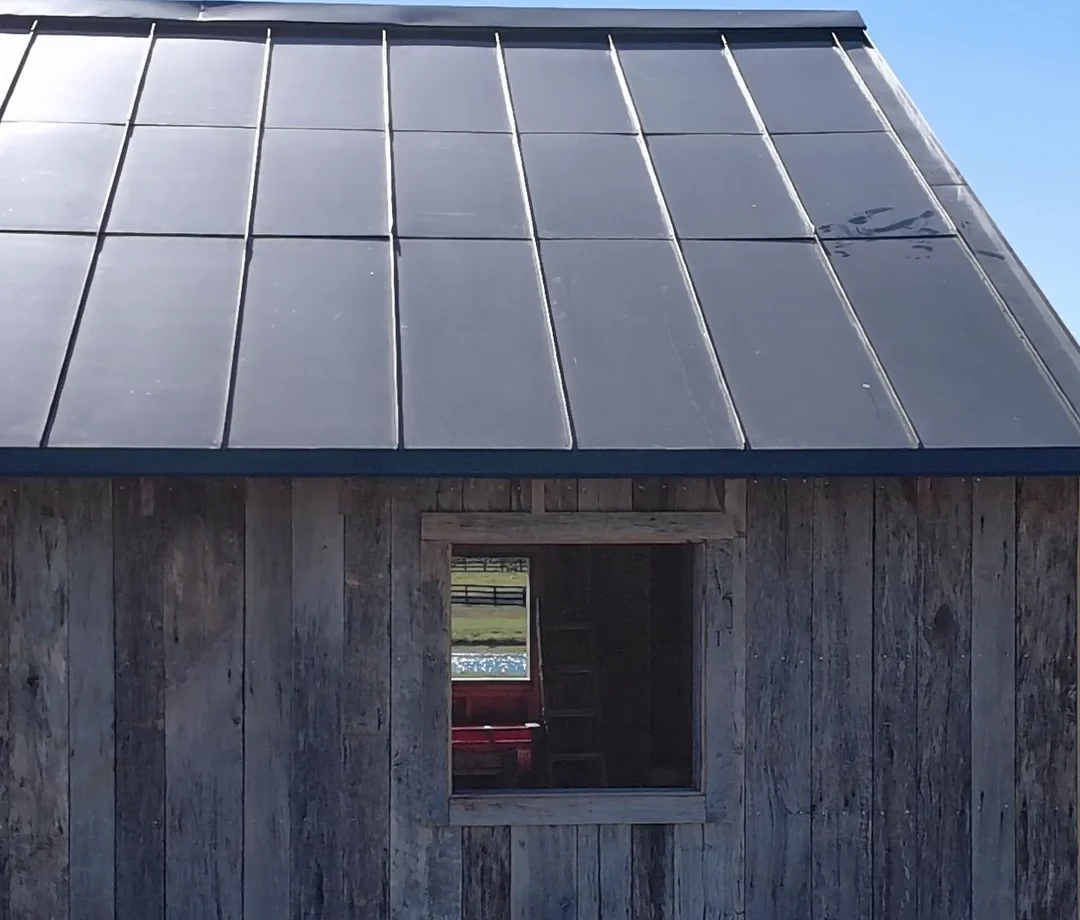
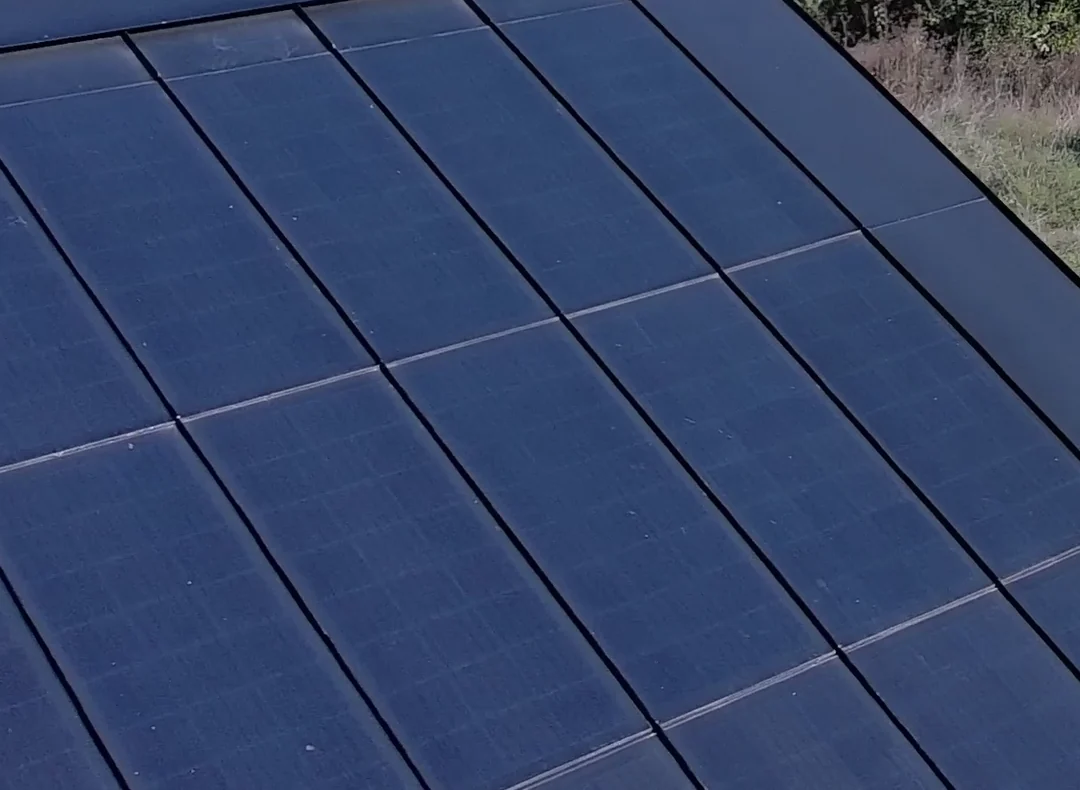
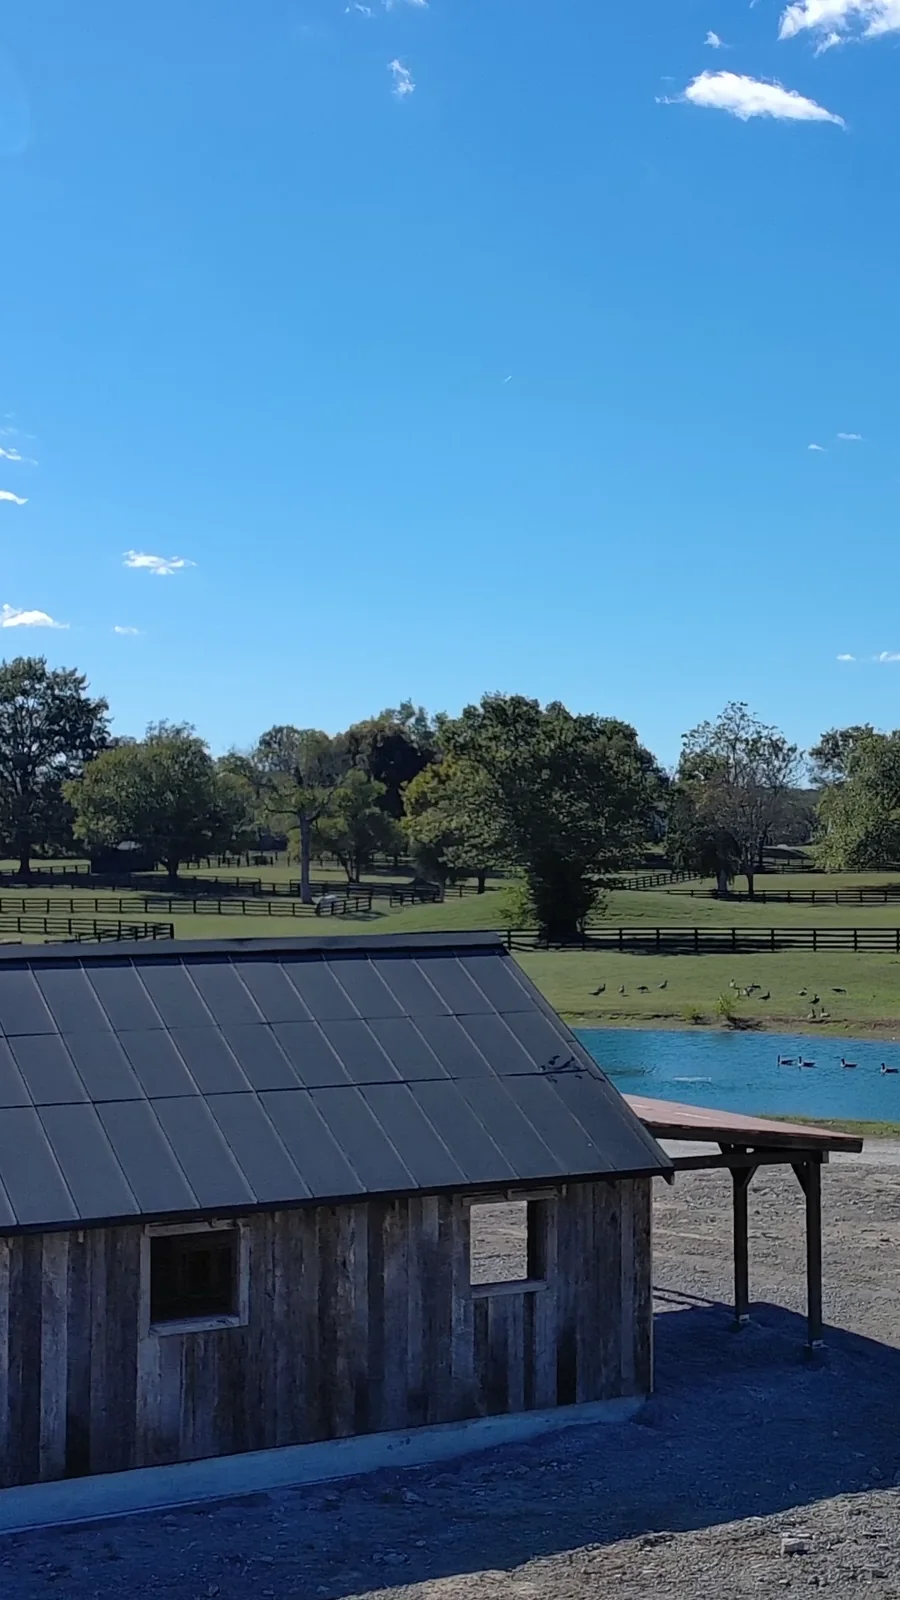
A roof-level close-up shows tiny cell lines; a longer view shows the glazed units aligned with the dark metal roof. These views help distinguish an integrated roof from a separate array raised above a finished roof.
The Short Answer
At this Franklin barn, the glazed photovoltaic surfaces sit within the metal roof plane, not on brackets above a separate finished roof. The footage shows module placement, the visible cell pattern beside a seam, edge fitting and seam work. Those views do not establish the system's electrical capacity or commissioning.
The matched footage shows roof placement, seam work and installed appearance. It does not verify active-module count, capacity, utility approval, operation or production. An unconfirmed proposal is not treated as the installed specification. How we document our work.
02 · The Work, In Order
Step 01
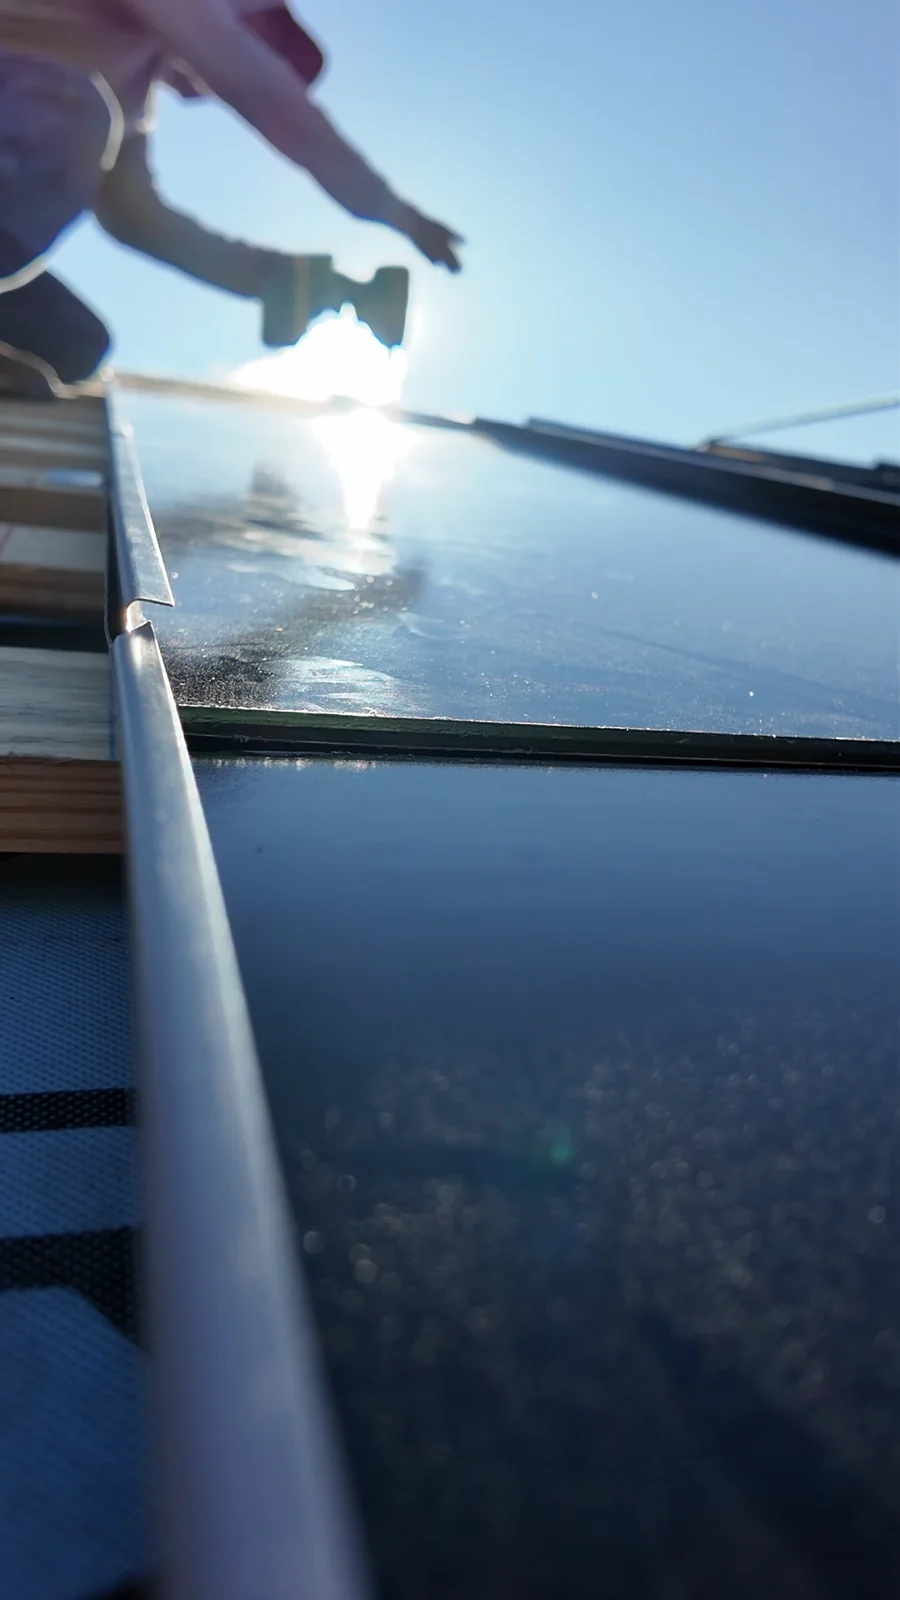
In the source footage, a glass-faced roof component is positioned beside a long raised metal edge. Uncovered areas next to it show wood and blue material beneath the work. The frame documents the component placement and level of the glass in the roof plane; it does not identify the exact underlayment or product model.
Step 02
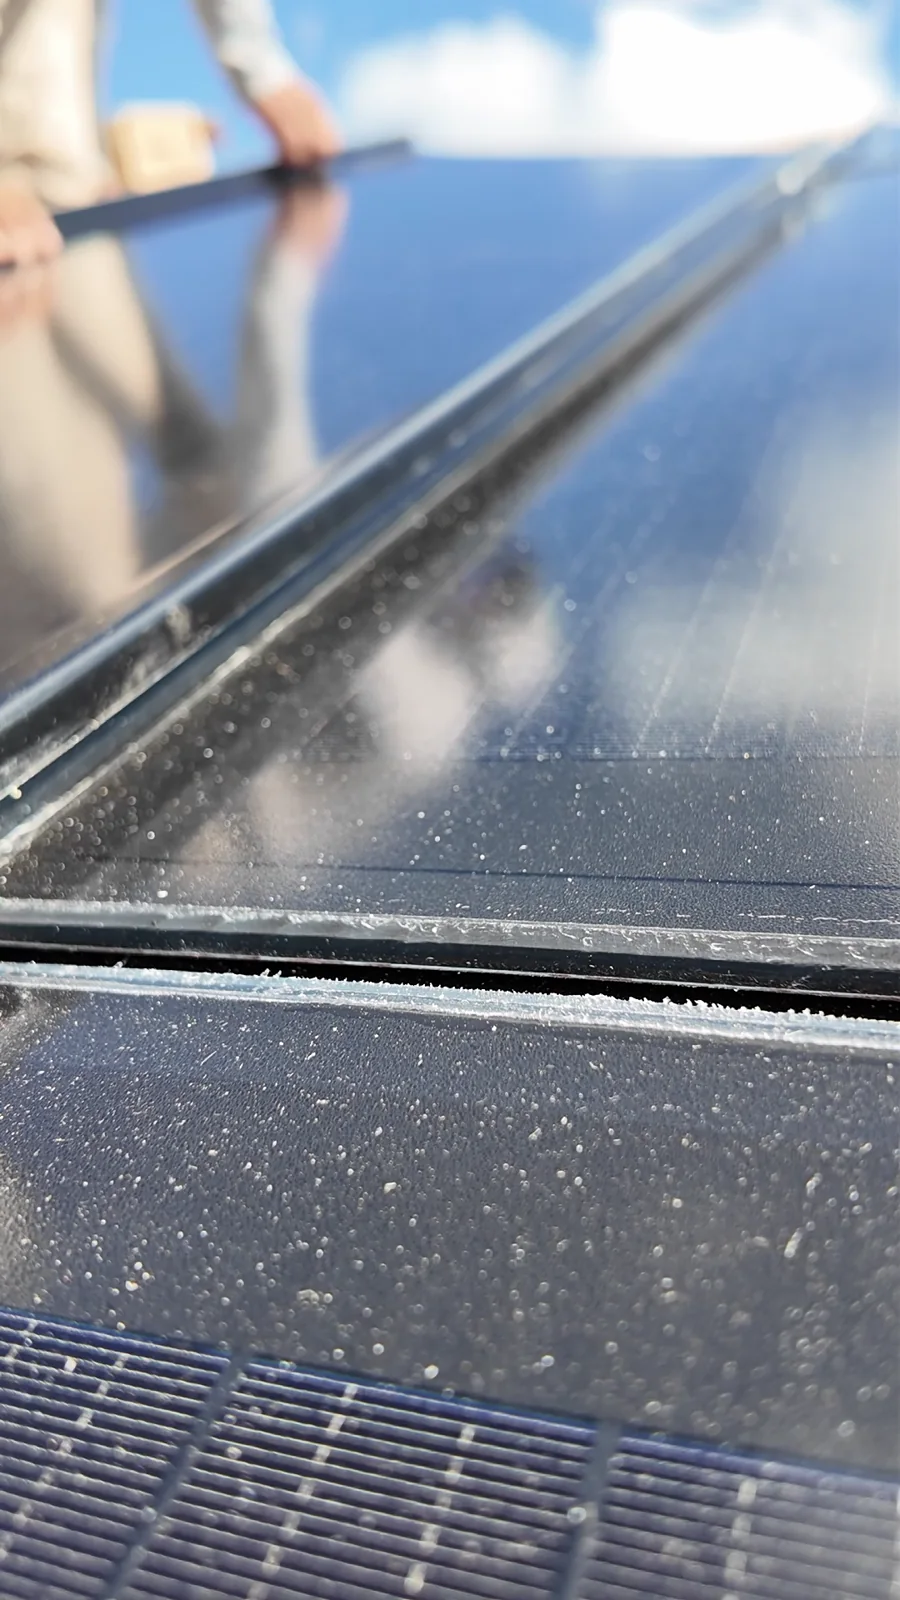
A close-up at 0:59.5 shows the photovoltaic cell pattern beside a formed seam. These are different details in the same roof: the cells provide the energy-producing surface, while the adjoining raised metal edge belongs to the roof assembly. No active-panel count or rated output is visible.
Step 03
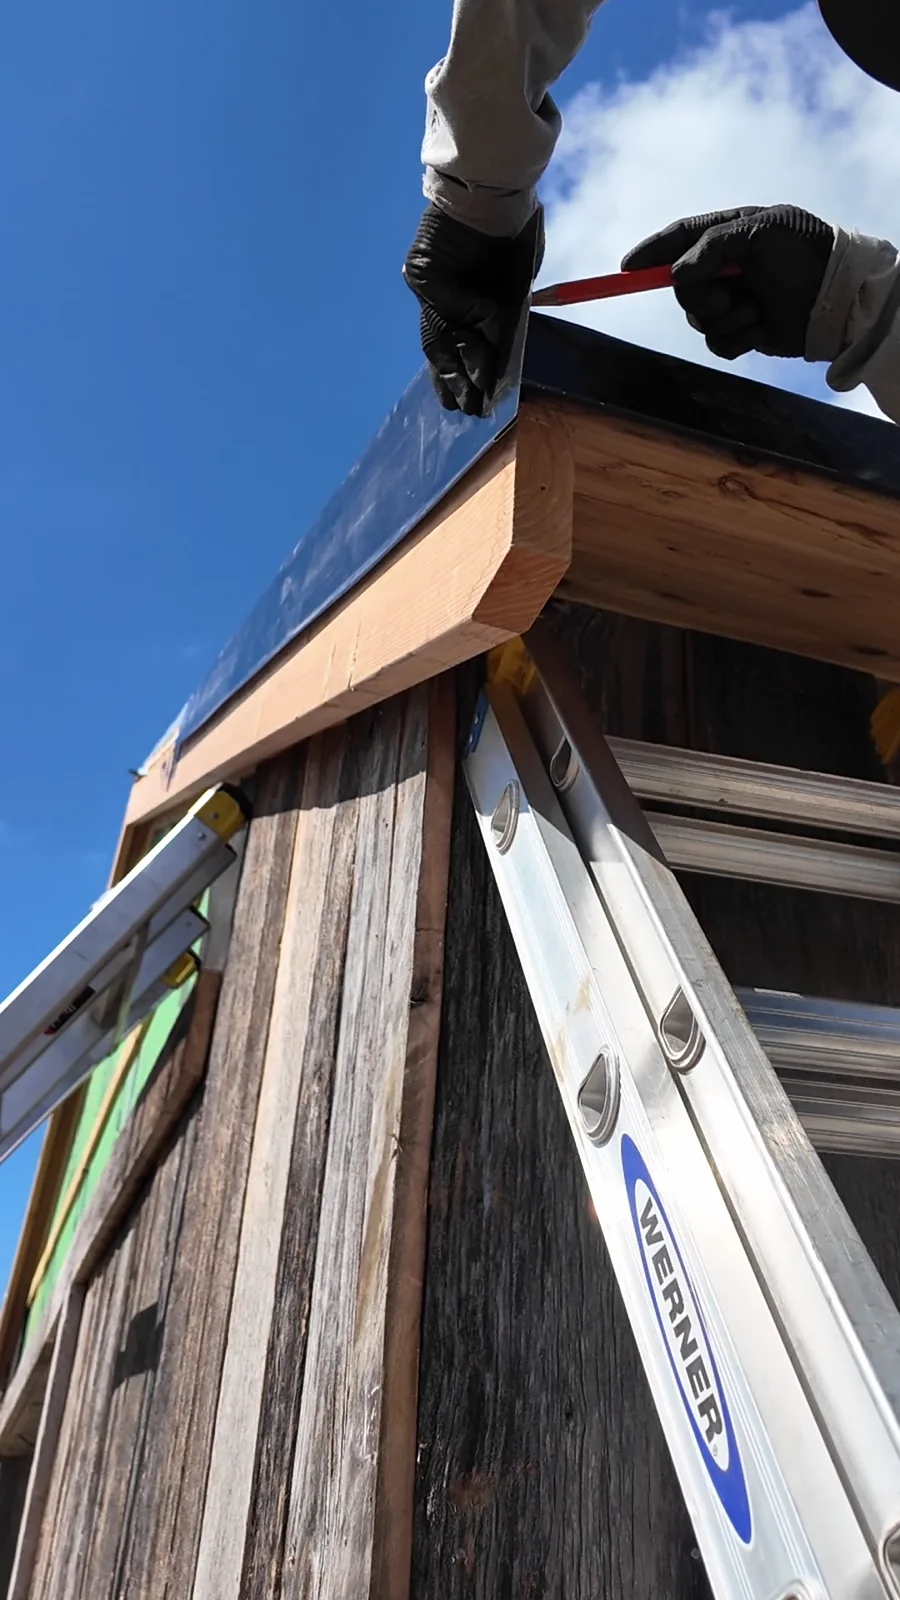
At 1:13, the crew is working at dark roof-edge metal above the visible wood wall and framing. That is an easy detail to miss if you focus only on the glass. An integrated system still needs compatible edge and transition details. The frame does not establish the complete flashing assembly concealed behind the metal.
Step 04
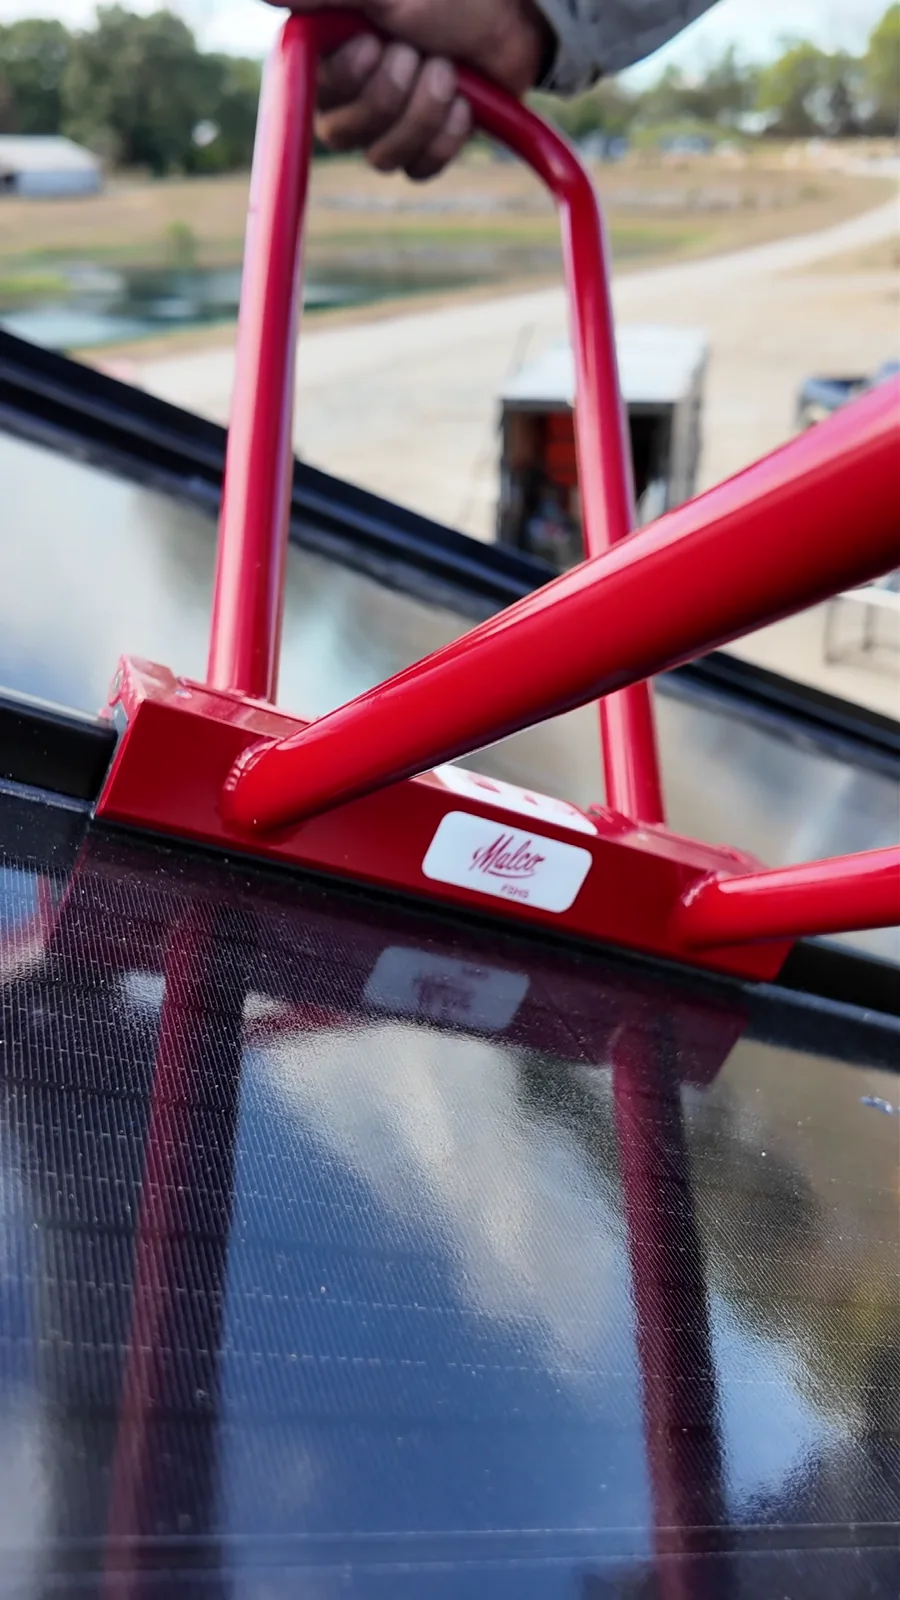
The red tool in the installation footage is positioned on the raised roof joint next to a cell-bearing panel. That shows seam work in progress. It doesn't establish a seam designation, tool setting or verified acceptance of the completed seam.
Step 05
The later video shows a dark module layout aligned to the roof slope above the wood-sided barn, with the pond and fenced pasture beyond. You can read the continuous roof plane and the grid of panel breaks. It is not evidence of what every panel does electrically.
Step 06
A roof video can show placement, fitting, seams and finished appearance. The product schedule, electrical scope and commissioning record are what would establish active module count, capacity, inverter, battery, service connection and approval to operate. None of those outcomes is claimed here without its own evidence.
The installation and finished-appearance frames show the Franklin barn's integrated roof, from module placement and seam work to the installed panel layout. They do not establish that the system was energized or how much it produces. No kW, generation estimate, savings or payback claim is made.
Field detail 01
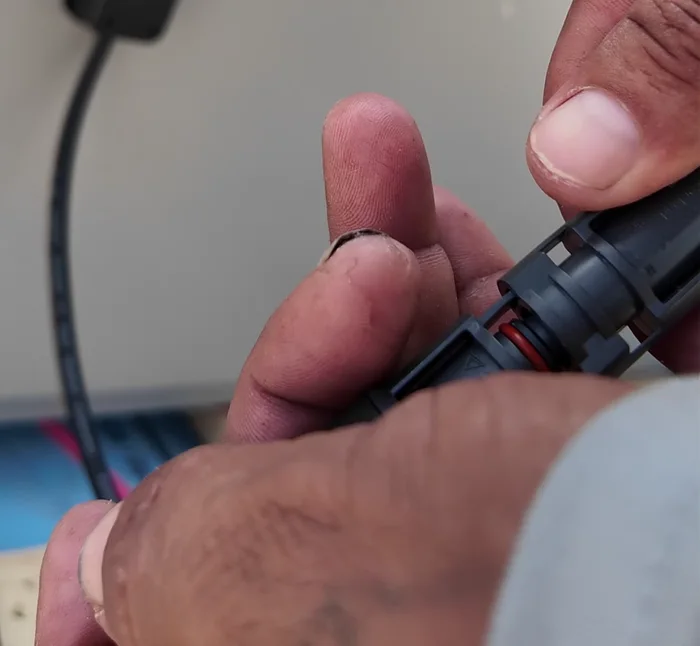
The reel cuts to hands handling two electrical connector halves behind a solar roofing module. This is a separate detail from fitting or seaming the roof metal. The clip does not show an inverter connection, commissioning or power production.
03 · From the Job Site
A roof-level close-up shows tiny cell lines; a longer view shows the glazed units aligned with the dark metal roof. These views help distinguish an integrated roof from a separate array raised above a finished roof.
Open the original reel on YouTube04 · For Your Own Roof
Use the finished view to decide whether you prefer solar to read as part of the roof or as a separate array. Use the proposal to answer the more consequential question: who is responsible for weatherproofing, electrical work and replacing an individual component later?
Keep going: Solar roofing and backup power · More Tennessee project stories
05 · Common Questions
An integrated solar roof uses photovoltaic components as part of the roof assembly. That is different from mounting a separate solar array on top of a roof that already sheds water on its own.
That cannot be confirmed from the public source. The project design and product schedule would tell us active-panel count, placement and capacity.
No. Installation imagery is not a commissioning report, utility approval or evidence of power production.
Ask what portion of the roof is active, what the roof warranty covers, how electrical responsibilities are divided, and whether another installer can later service a roofing or solar component without voiding coverage.
Look for the cell-bearing glass alongside the raised seam at roof level and for the absence of a visibly elevated rack in the finished view. The near shot explains the fit; the long barn view shows why the roof reads as one plane.
Ask how a failed or damaged part can be isolated and removed, who restores the weather seal, and whether roof and solar warranties are administered separately. The Franklin footage is not a serviceability guarantee.
Look for the final module schedule, commissioning record and measured production data. A continuous dark roof surface does not tell you the active module count, what the inverter is rated for or whether the system is operating.
The Metal Roofers · Franklin, Tennessee
Tell us what you have in mind. We’ll take a look and explain what should go into the scope for your property.
Request an inspection and quoteSee more project stories →