Metal Roofing Alliance Member
TVA Preferred Partners Network
10,000+ Metal Roof Jobs
Nashville, TN
Licensed & Insured
BBB A+

Open 8am–8pm
(615) 649-5002Schedule Your
Appointment
Appointment
✦ Reviewed by The Metal Roofers Technical Team
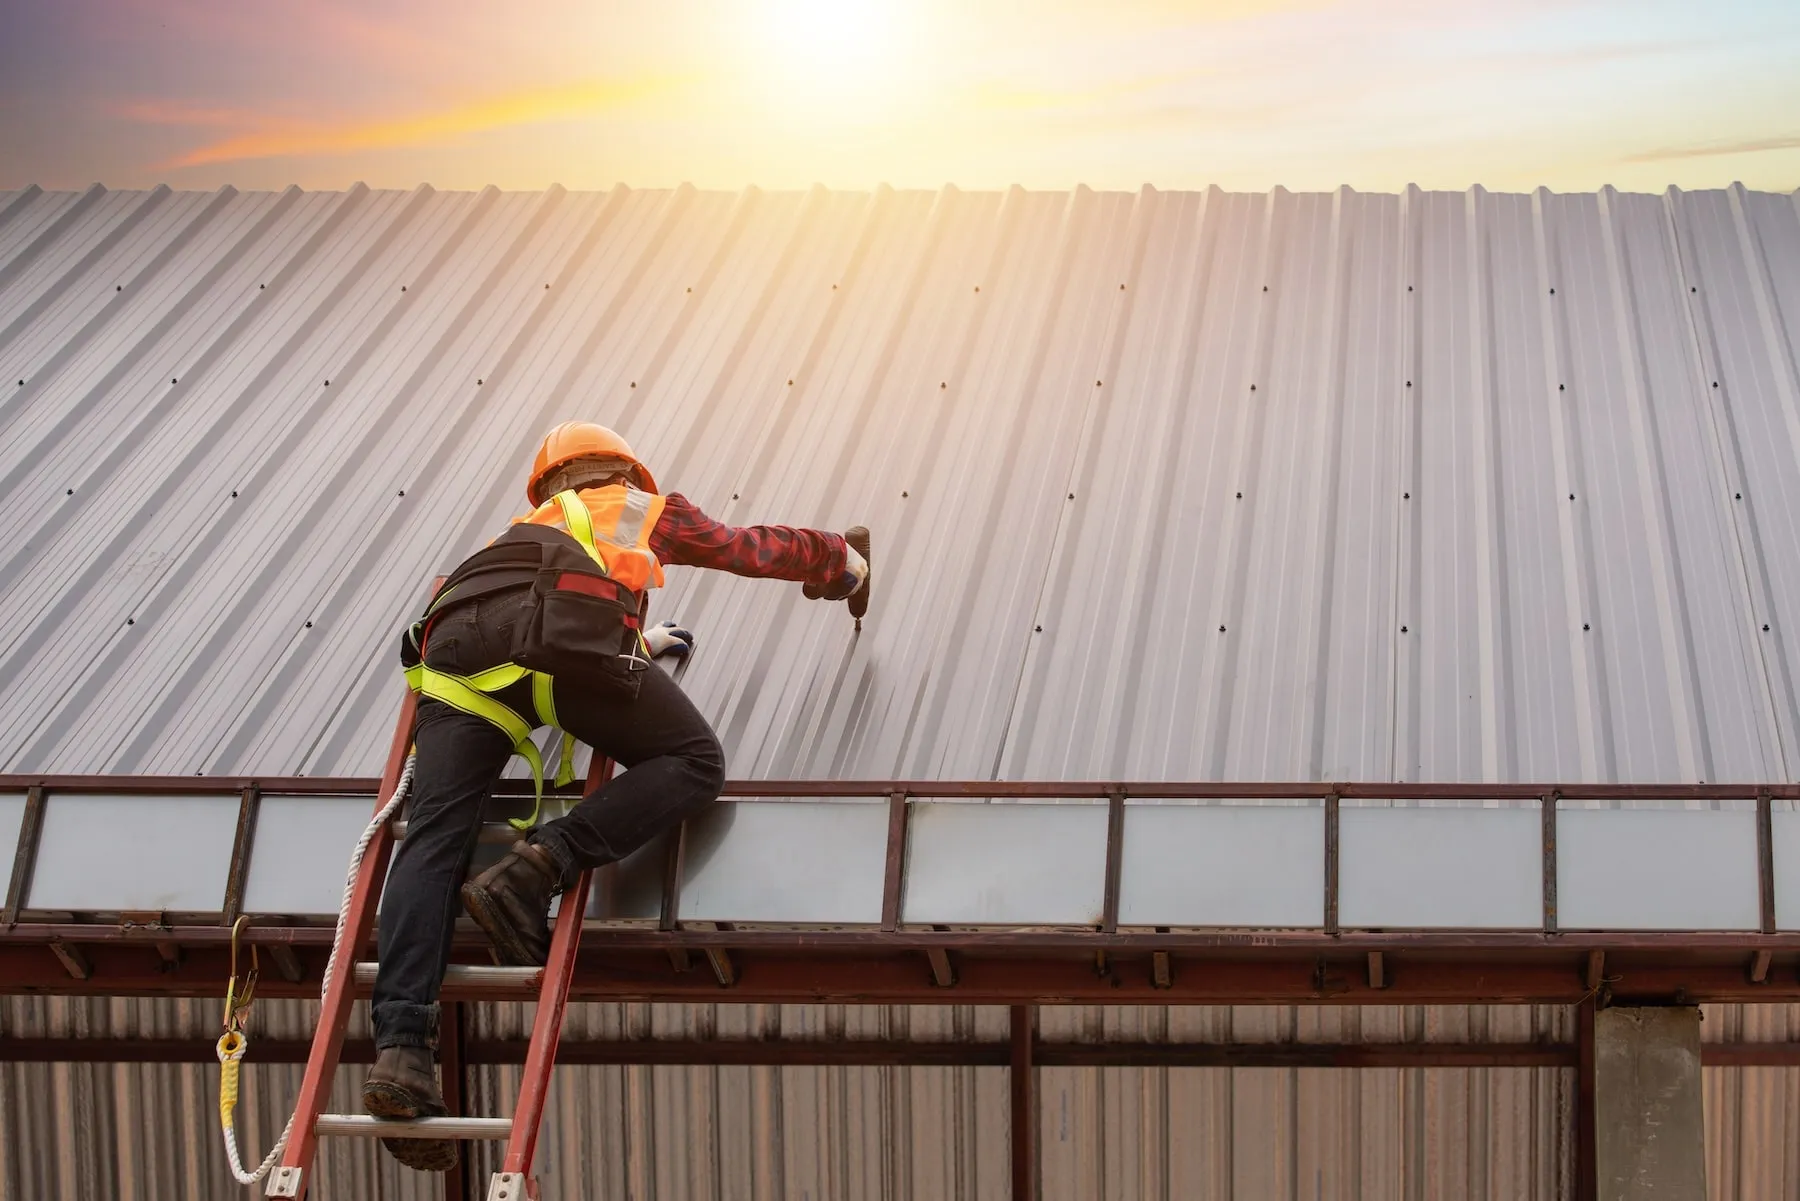
A metal roof installation runs from an initial consultation and roof assessment through material ordering and permits, any tear-off, underlayment, panel installation, and a final cleanup and inspection. Installing a metal roof is a smart investment that provides durability, energy efficiency, and long-term value. However, if you've never gone through the process before, you might not know what to expect. Here's a step-by-step guide to help you understand the metal roofing installation process.
The process starts with a consultation with a licensed and insured metal roofing contractor. During this stage, they will:
A good contractor will take the time to evaluate your home's specific needs and help you choose the best metal roof for your budget and style preferences.
Before work begins, your contractor will take care of several key preparations:
If you have an existing roof, your contractor will determine whether it needs to be removed or if the metal roof can be installed over it.
In many cases, a metal roof can be installed over an existing shingle roof, reducing labor costs and installation time. However, if your roof has structural damage or multiple layers of shingles, the old roofing material may need to be removed.
The contractor will:
Before the metal roof panels are installed, a protective underlayment is placed over the roof decking. This acts as a moisture barrier and provides additional insulation. Depending on your climate and roofing type, your contractor may use:
Once the underlayment is in place, the installation of the metal roofing panels begins. This process includes:
This step requires precision and expertise to ensure long-term performance and weather resistance.
Once installation is complete, the contractor will:
A professional metal roofing contractor will ensure that your new roof meets all quality standards before considering the job complete.
With your new metal roof installed, you can enjoy:
Your contractor will provide care instructions and warranty details to help you keep your metal roofing in top shape for decades to come.
If you're considering a metal roof for your home, trust The Metal Roofers for expert installation and reliable service. Contact us today for a free consultation and experience the benefits of quality metal roofing from start to finish. Learn more about our metal roof replacement services or request an estimate online.

Metal over one layer of shingles is sometimes possible in Tennessee. See when code and deck condition allow it, and why we usually recommend tear-off.
When it comes to metal roofing, the panels often get the spotlight. But one of the most important components of any roofing system is the underlayment.
Considering a standing seam metal roof? Learn about its durability, benefits, and why it's a top choice for homeowners.