Installing a metal roof is a smart investment that provides durability, energy efficiency, and long-term value. However, if you’ve never gone through the process before, you might not know what to expect. From the initial consultation to the final inspection, here’s a step-by-step guide to help you understand the metal roofing installation process.
The process starts with a consultation with a licensed and insured metal roofing contractor. During this stage, they will:
· Assess your current roof structure.
· Discuss your material and color options.
· Provide a cost estimate and timeline.
· Answer any questions about warranties and maintenance.
A good contractor will take the time to evaluate your home’s specific needs and help you choose the best metal roof for your budget and style preferences.
Before work begins, your contractor will take care of several key preparations:
· Ordering Materials: Once you’ve selected the type of metal roofing, your contractor will order the necessary materials.
· Securing Permits: Depending on your location, your contractor may need to obtain permits to comply with local building codes.
· Scheduling the Installation: The installation date will be set, taking weather conditions into account to ensure a smooth process.
If you have an existing roof, your contractor will determine whether it needs to be removed or if the metal roof can be installed over it.
In many cases, a metal roof can be installed over an existing shingle roof, reducing labor costs and installation time. However, if your roof has structural damage or multiple layers of shingles, the old roofing material may need to be removed.
The contractor will:
· Tear off the old roof (if required).
· Inspect and repair the roof decking.
· Ensure a solid foundation for the new metal roofing system.
Before the metal roof panels are installed, a protective underlayment is placed over the roof decking. This acts as a moisture barrier and provides additional insulation. Depending on your climate and roofing type, your contractor may use:
· Synthetic underlayment for extra durability.
· Self-adhering membrane in areas prone to ice or heavy rain.
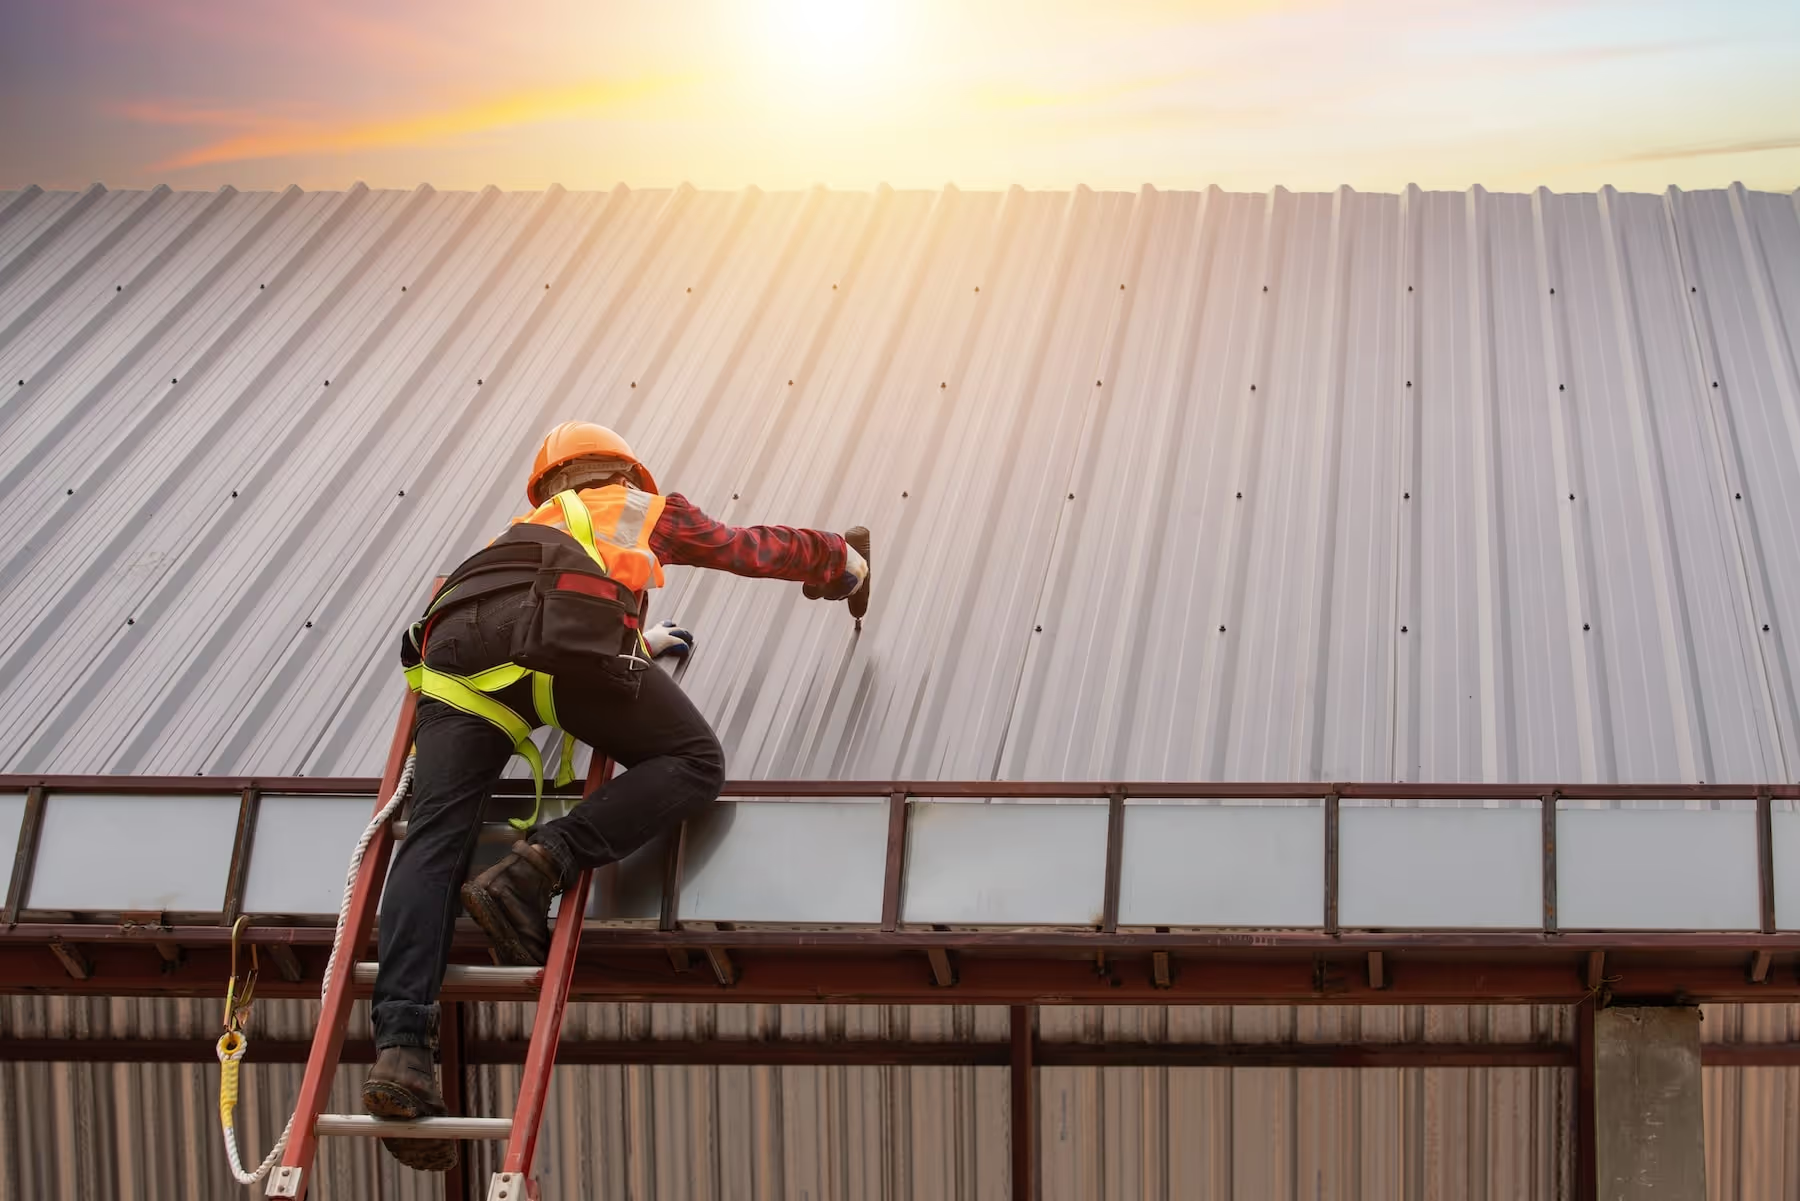
Once the underlayment is in place, the installation of the metal roofing panels begins. This process includes:
· Positioning the Panels: Panels are aligned properly to ensure even coverage.
· Fastening the Panels: Screws or clips are used to secure the panels, with proper spacing to allow for thermal expansion.
· Sealing the Joints: Seams and edges are sealed to prevent leaks.
· Adding Trim and Flashing: Flashing is installed around chimneys, vents, and edges to direct water away from vulnerable areas.
This step requires precision and expertise to ensure long-term performance and weather resistance.
Once installation is complete, the contractor will:
· Remove all construction debris, nails, and excess materials.
· Perform a final inspection to ensure everything is installed correctly.
· Walk you through the finished project and answer any final questions.
A professional metal roofing contractor will ensure that your new roof meets all quality standards before considering the job complete.
With your new metal roof installed, you can enjoy:
· Improved energy efficiency and lower utility bills.
· Superior durability and weather resistance.
· Low maintenance and long-term savings.
Your contractor will provide care instructions and warranty details to help you keep your metal roofing in top shape for decades to come.
If you’re considering a metal roof for your home, trust TheMetal Roofers for expert installation and reliable service. Contact us today for a free consultation and experience the benefits of quality metal roofing from start to finish!